
Tomatoes are kind of like a garden necessity. You just can't garden if you don't grow tomatoes. As produce, they're versatile, being good both fresh and canned. You can use them to make so many different culinary concoctions that they are a must-have for just about anyone who cooks, especially from scratch.
We have a love affair with tomatoes, but I'm not talking about those things they sell at the store that are more reminiscent of a piece of cardboard. I'm talking about those delicious, fresh tomatoes with a taste you can only get from a garden-grown variety. While tomatoes are delicious and versatile, those things at the store just don't give them justice. We sacrificed taste and nutrients for longevity and durability as usual. It's almost imperative to grow your own tomatoes, or you're not going to eat them (well, you might, but they sure as heck don't taste very good).
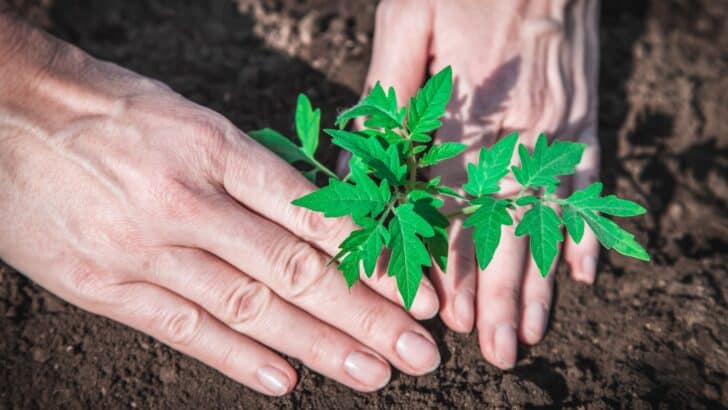
The first step to growing great tomatoes is getting those plants into your garden. Sure, you could just throw them in a hole in the ground and call it a day. However, that's probably not going to yield you much fruit. You need to do it the right way from the get-go, and this will ensure a healthy harvest, every time.
How to Transplant Tomatoes
The When
Seedlings should be transplanted when they are roughly six inches tall. The soil temperature should be at least 55°F. The outside temperature should be in the 60s or 70s for highs and no lower than the 50s for lows. Make sure you don't put them out if there is a chance it may still frost. You can put them out earlier if you have the means to cover them (row cover, a cold frame, etc). However, if you get too antsy and put them out too soon, it won't benefit you and could hurt your crop.
When it is planting day, be sure to pick a cloudy day. This will help the plants adjust and not get dried out by the sun.
A note about hardening off
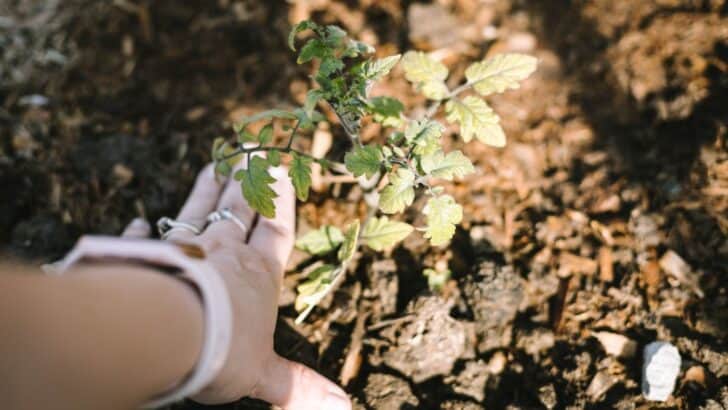
Whether you bought plants from the store or you started the seeds yourself, they need to be hardened off. This not only helps them get used to the ever-changing outdoor climate but helps them not become shocked by the sudden burst of sun.
To harden off: place your plants outside, in the shade, during the day. Either cover them or bring them in at night. Each day, put them a bit closer to partial sun. Do this for about 7 days before you're ready to transplant. Your plants will be stronger for it!
The What
Sure, you're just putting plants in the ground, right? Wrong. If you want great yields, you need to prepare that ground. To do this, first, you should add some compost to your plot. Add about 2 inches of compost to the top of your garden. If you have well-drained, workable soil, you can just throw the compost on top (I do this a week to two weeks prior to planting). If you have a new plot, the soil is rough, or your nutrient level is a bit on the iffy side, go ahead and till it into the top few inches of soil.
To prepare the hole, put about two Tablespoons of Epsom salt in the bottom of the hole. Then, place about one cup each of kelp meal and bone meal into the hole. These nutrients will help your plant throughout the growing season, as they are all slow-release nutrients, and won't overpower the seedling. They will help your plant stay healthy and produce bountiful yields all season long.
I water my whole garden before I'm ready to plant. Water it deep a few hours before you plant to ensure the soil is nice and moist. The top layer or so of the soil should be a bit dried out by planting time, which makes for a bit less mess. If you've got kids involved (we do), they'll enjoy the mess anyway!
The How
So, you've hardened off your plants, you've found a cloudy day and the soil temperature is sufficient. You're ready to put those babies in the ground! This is my absolute favorite part. I love digging into the earth each spring and watching my efforts come to life and reward me with delicious, whole foods for me and my family. This section can go one of two ways. If you're in the south or the north.....
Planting for northerners
The colder northern climates and shorter growing seasons mean you need to allow your plants to root deep in order to stay healthy and strong. You're going to want to plant that little seedling deep. You only want the top leaf section out of the ground. The roots as well as the stem section should be planted beneath the soil. Roots will grow from the stem section, this will make for a stronger plant and will give the plant more ability to reach nutrients. This, in turn, will increase your yield! So, plant it deep, leaving only the top section of leaves out.
Planting for southerners
The south experiences a warmer, longer growing season than its northern neighbors. So, you don't want to plant your tomatoes deep. If you do, you will be more likely to contract a fungus. It is also completely unnecessary to plant deep, as the longer growing season gives the plant more access to nutrients. Only plant your seedlings as deep as the soil they're started in, no deeper. Planting a more shallow plant will help ensure the stem segment of your plant stays healthy and does not contract a fungus (which wouldn't make for a very good yield).
Once you have your plants in the ground, whether you're northern or southern, go ahead and place the stakes or cages. This will help prevent root damage if you do it now instead of waiting until the plants are larger and more cumbersome.
Now, go forth and harvest an awesome tomato crop this year!
Other Gardening Posts You'll Love:


April J Harris says
You've shared some great advice on tomato growing in this post! I always love to have fresh tomatoes in the garden. There's nothing like the flavour of home grown tomatoes! Thank you for sharing with us at the Hearth and Soul Hop Hope to see you again this week.