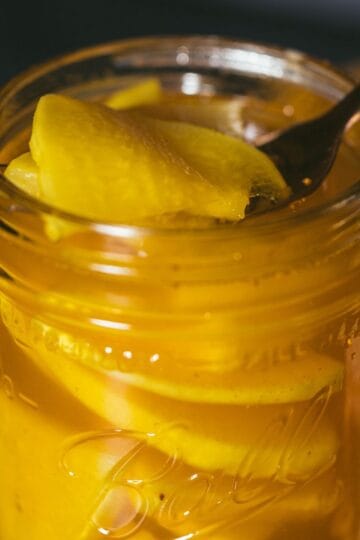
There’s something sacred about the act of preserving. Taking the ripest, juiciest gifts of summer and tucking them into jars to savor long after the season has faded. This low-sugar strawberry jam lets the fruit speak for itself. No commercial pectin. No cloying sweetness. Just strawberries, lemon, and a little bit of sugar to coax out their magic.
I’ve made all kinds of jam over the years... blackberry, raspberry, Yuletide spiced, but strawberry is always the first jar we finish. It’s bright, familiar, and somehow both nostalgic and fresh. And when you make it low-sugar, it tastes like the berries came straight off the vine.
Why Make Your Own Jam?
Because you deserve to know what’s in your food, and more than that, you deserve food that feels like yours. When you make jam yourself, you're choosing fruit that aligns with your values. You’re controlling the sweetness. You’re sidestepping the shelf-stable, overly processed jars from the store.
This recipe honors the fruit. It’s not about masking the strawberries with sugar. It’s about letting them shine.
Ingredients
Exact measurements included below in the recipe card.
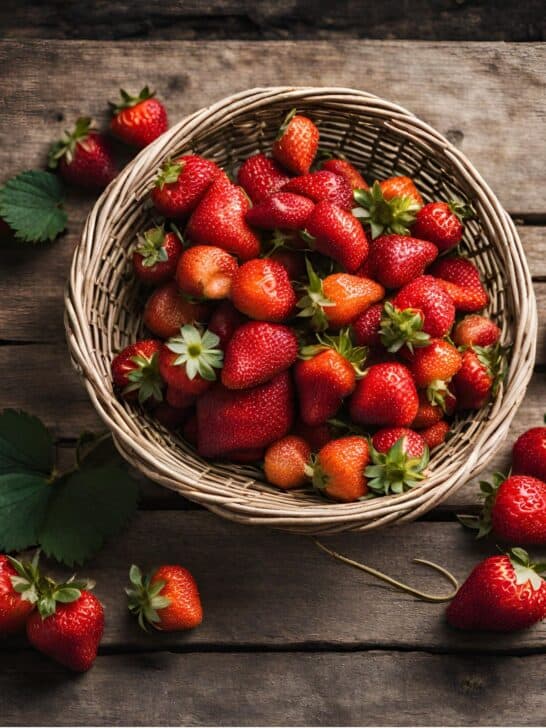
Strawberries - Fresh, ripe, and vibrant. Avoid mushy or overripe berries.
Lemon juice - For brightness and natural pectin.
Sugar - Just enough to enhance the flavor without overpowering it.
Choosing the Best Strawberries
Use the freshest, reddest berries you can get your hands on—whether they’re from your own patch, the farmers market, or a generous neighbor. While frozen berries can be used in a pinch, they’ll release more water and take longer to set. If using frozen, thaw and drain them first.
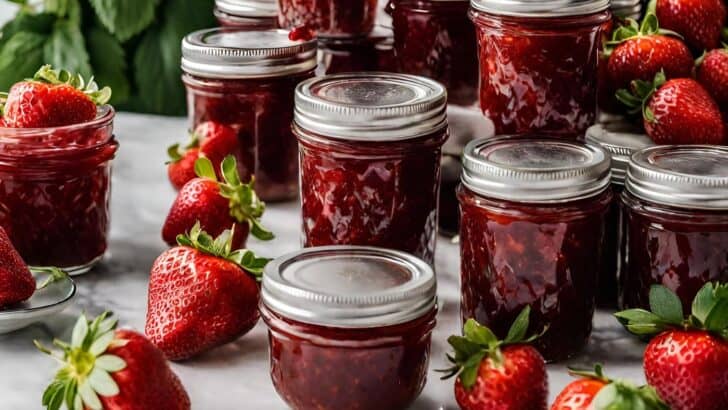
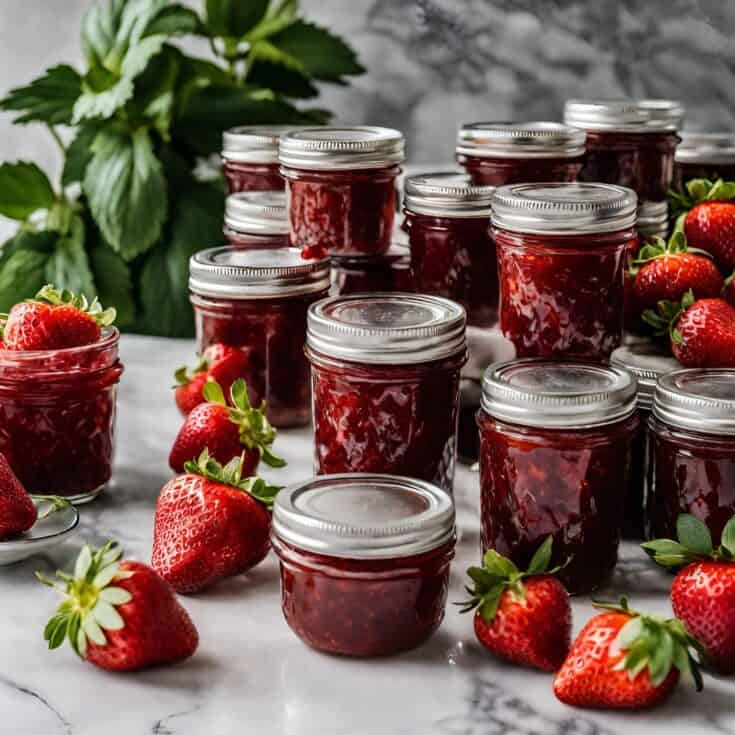
Need a rough guide? You’ll need about 4 pounds of whole strawberries to make 4 half-pint jars of jam.
Can I Double This Recipe?
Yes, but don’t go bigger than that. Larger batches can struggle to set properly. I often make multiple small batches instead, about 4 at a time, giving us 16 to 20 half-pint jars from 14–16 pounds of strawberries. That usually carries us through the seasons alongside pepper jelly and blueberry preserves.
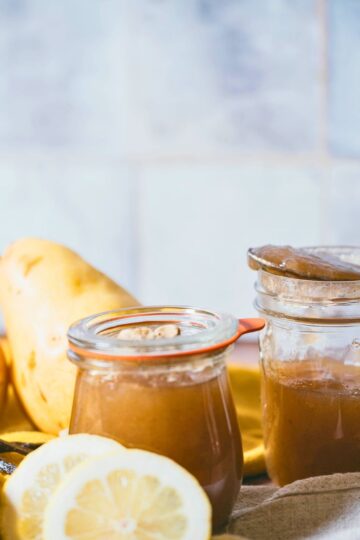
Freezer, Fridge, or Canned?
You’ve got options:
- Refrigerate: Keeps for up to 6 weeks.
- Freeze: Lasts about 4 months in freezer-safe containers.
- Water bath canning: Shelf-stable for up to 18–24 months.
Freezer jam tends to taste slightly fresher, but nothing beats the pantry shelf satisfaction of seeing rows of glowing ruby jars.
No Pectin? No Problem.
Strawberries are low in natural pectin, but lemon juice helps. This recipe is slow-cooked and small-batch so the jam thickens naturally. No boxed pectin. No mystery ingredients.
How to Make It
Step 1: Prep Your Jars (if canning):
Wash jars, lids, and rings. Keep jars hot in a water bath canner or the oven.
Step 2: Prep the Berries:
Hull the strawberries and mash them with a potato masher until chunky or smooth... your call. Add lemon juice and sugar and stir to dissolve.
Step 3: Cook the Jam:
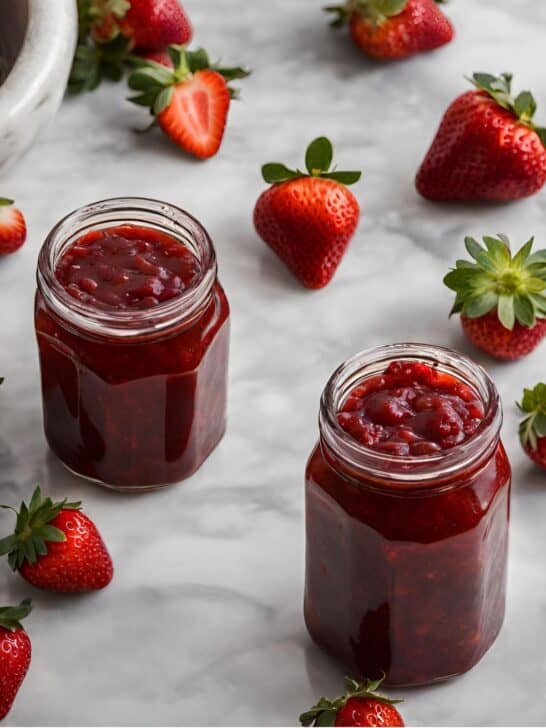
Bring the mixture to a gentle boil, stirring frequently, and keep it at a low boil for 15–20 minutes. Test for set by dipping in a frozen spoon. If the jam sheets off the edge or holds its shape, it’s ready.
Step 4: Fill Jars:
Ladle hot jam into jars, leaving ¼ inch headspace. Remove air bubbles, wipe the rims, add lids, and screw on rings until fingertip-tight.
Step 5: Process (if canning):
Submerge jars in a boiling water bath with at least 1 inch of water above the tops. Process for 10 minutes. Let cool undisturbed for 12–24 hours. Check seals before storing.
Notes + Tips
Want it thicker? Simmer longer, stir often, and don’t rush it.
Make it herbal: Try infusing with basil, thyme, or lavender for a botanical twist.
No lemon juice? Don’t skip it. It’s essential for both acidity and thickening.
More Preserves Worth Trying
- Easy Spiced Cranberry Jam for Canning
- Easy Four Ingredient Wine Jelly Recipe
- Brandied Apricot Preserves
📖 Recipe
Low Sugar Strawberry Jam (No Pectin)
This simple, small-batch strawberry jam keeps it wild and real. No boxed pectin, no sugar overload. Just ripe berries, lemon, and time over flame. It’s sweet enough to spoon, tart enough to taste like summer, and pure enough for your pantry. Whether you can it or stash it in the freezer, this is the kind of preserve that feels like a love letter to the season.
Ingredients
- 8 Cups Fresh Strawberries (hulled)
- 2 Cups Sugar
- ¼ Cup Lemon Juice
Instructions
- Prepare Jars: Wash mason jars, lids, and rings in hot, soapy water. If canning, place clean jars in a canner, cover with water, and heat over medium heat. Heat lids in a small saucepan with water over medium heat as well.
- Prepare the Jam: Hull and mash the strawberries in a large saucepan until desired consistency is reached. Stir in sugar and lemon juice, and heat over medium heat until the sugar is dissolved.
- Cook the Jam: Bring the mixture to a boil and maintain a low boil for 15-20 minutes, stirring constantly. Check for proper setting by dipping a cold spoon into the jam; if it drips off in sheets or sticks to the spoon, it’s ready.
- Pack Jars: Ladle hot jam into hot jars, leaving ¼ inch of headspace. Remove air bubbles, wipe rims, place lids on jars, and screw on bands until fingertip tight.
- Process: If canning, place jars in a canner, cover with 3 inches of water, and bring to a rolling boil. Process half-pint jars for 10 minutes. Remove jars and let cool undisturbed for 12 hours.
Notes
– 1,001–3,000 ft: add 5 minutes
– 3,001–6,000 ft: add 10 minutes
– 6,001+ ft: add 15 minutes
Nutrition Information:
Yield:
128Serving Size:
1 TablespoonAmount Per Serving: Calories: 11Total Fat: 0gSaturated Fat: 0gTrans Fat: 0gUnsaturated Fat: 0gCholesterol: 0mgSodium: 1mgCarbohydrates: 3gFiber: 0gSugar: 2gProtein: 0g


Kristin says
This is the perfect recipe. I kept finding ones with equal parts sugar & strawberries or more! Those recipes are way too sweet. I also don't keep pectin on hand. I loved the lemon in this one. It gave it the perfect flavor. And thank you for the spoon test! I had never heard of this. Being new to canning, I was always told to get the jam to a temp of 220 or "do the plate test" but I had no other specifics. The spoon test is so much easier and I appreciate the specific instructions on what I'm actually looking for when doing the spoon test. Thank you!
Megan says
This is my second time trying the recipe and it's really hard to get the temp to 220 without boiling it on high. Any recommendations?
Danielle McCoy says
It could be your thermometer... you can try the spoon test where you see if the jam drops off the spoon in "sheets", or the plate test where you put a plate in the freezer, pull it out, pour a little jam on it and it shouldn't spread much. That means it's gelled and your thermometer is just slightly off.
Another thing if you're above sea level, gel point is slightly lower. The boiling point decreases .9°F for every 500 ft in elevation so even at just 1,000 ft in elevation your gel point would be around 218°F.
If your pan is tall and not wide, it will take longer for the liquid to evaporate, increasing the time it takes to get to gel stage.
All that said, since this recipe doesn't contain any powdered pectin and low sugar (both which help with the molecules binding together to gel) it does take a while to get to that point and patience is a must. That said, if you can get it up to 220 with boiling it on high and it doesn't scorch or burn, you can certainly do that... it just usually turns into burnt, scorched jam. I hope this helps!
Lori says
Do you used fresh squeezed lemon juice or store bought?
Danielle McCoy says
Store bought