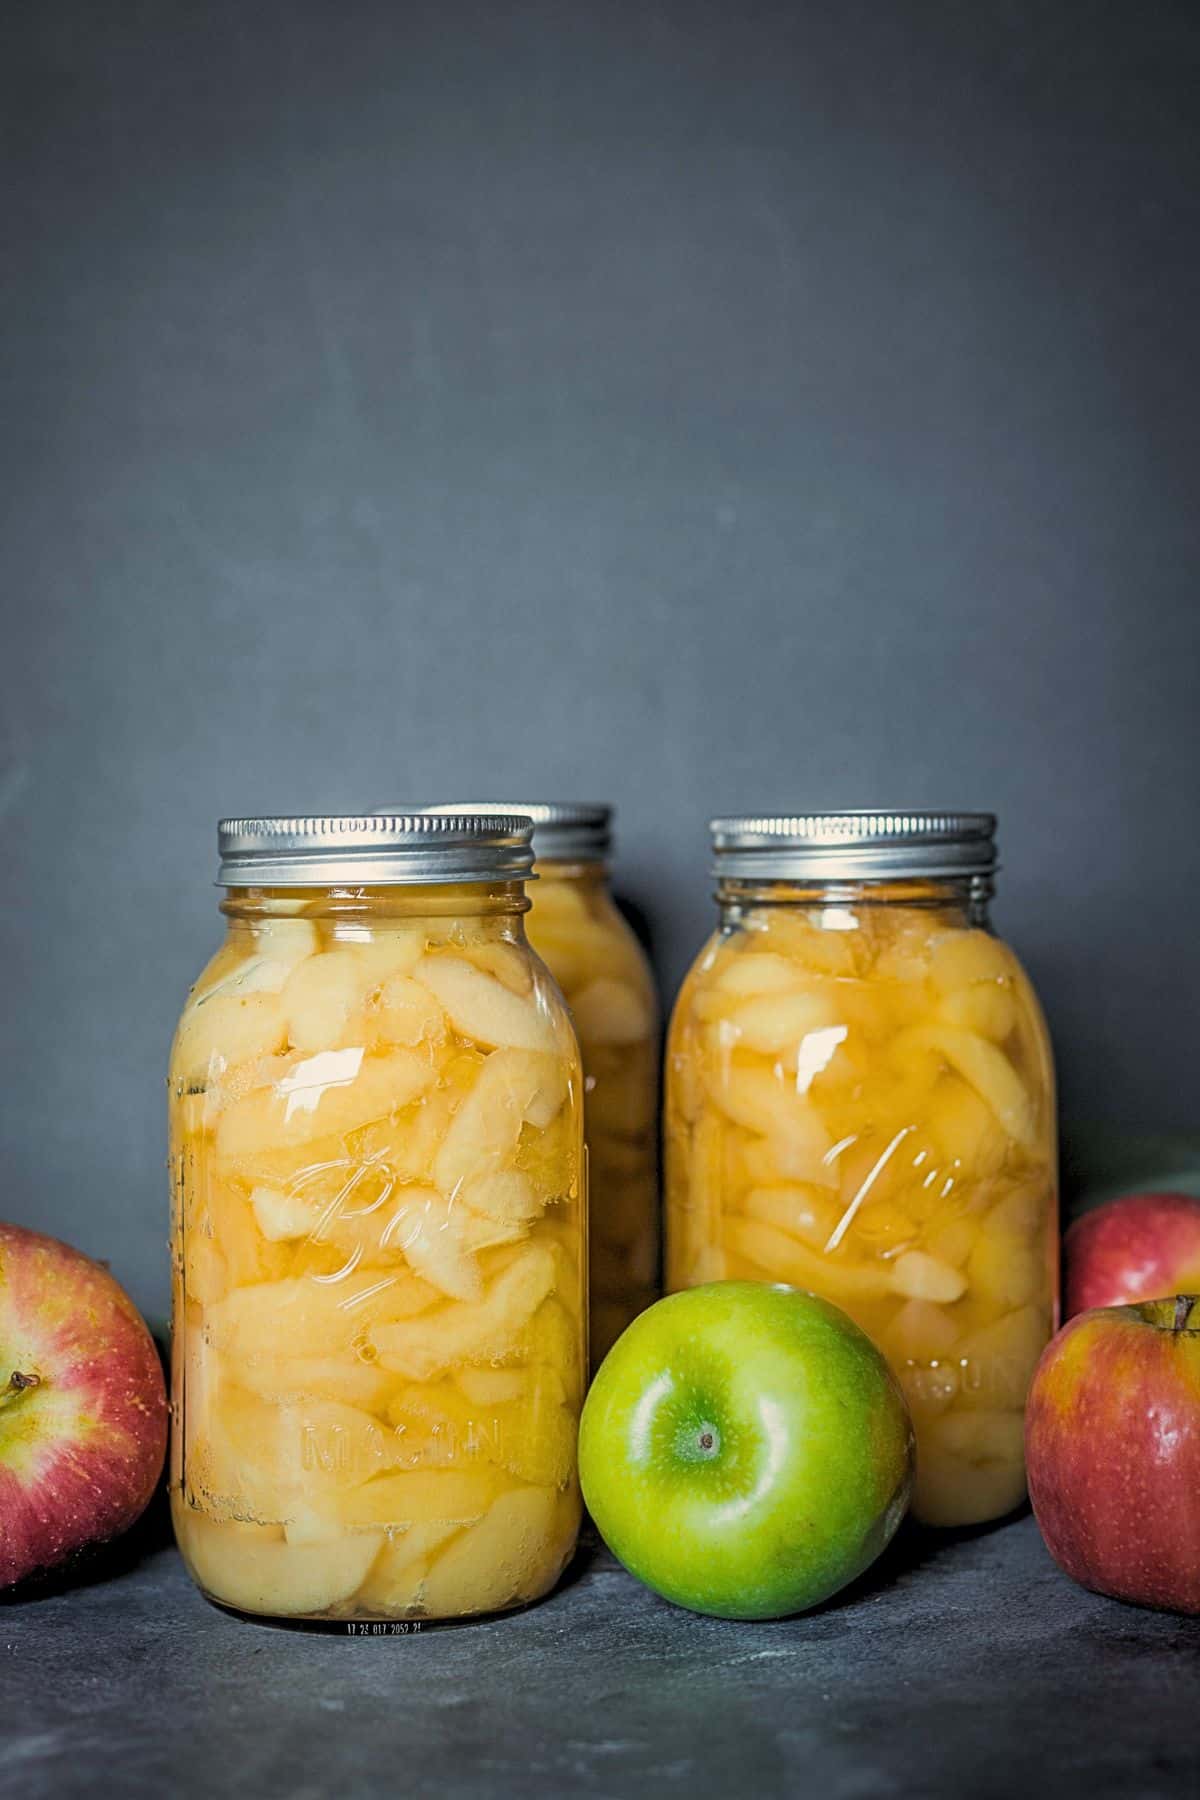
Canning apples at home is one of the best ways to preserve fresh fall fruit for pies, crisps, cobblers, and more all year long. With just a few simple steps, you can fill your pantry with jars of tender, flavorful apple slices ready for quick desserts and everyday meals.

There’s nothing quite like opening a jar of home-canned apples in the middle of winter. Sweet, crisp slices preserved at the peak of autumn hold a little taste of the orchard long after the leaves have fallen. These jars are endlessly versatile... ready to tuck into a quick pie, fold into a crisp, or simply warm on the stove with a sprinkle of cinnamon.
Instead of canning big batches of apple pie filling or turning every basket into sauce, I love to can plain apple slices. They give me the freedom to decide later... butter, crisp, pie, turnovers... all from one humble jar.
Best Apples for Canning
While you can can any apple, some varieties hold up better than others. Firm, baking types will keep their shape and texture best. Think:
- Granny Smith - tart, crisp, reliable.
- Pink Lady - balanced sweet-tart, holds texture.
- Honeycrisp, Fuji, Gala - sweeter but still sturdy.
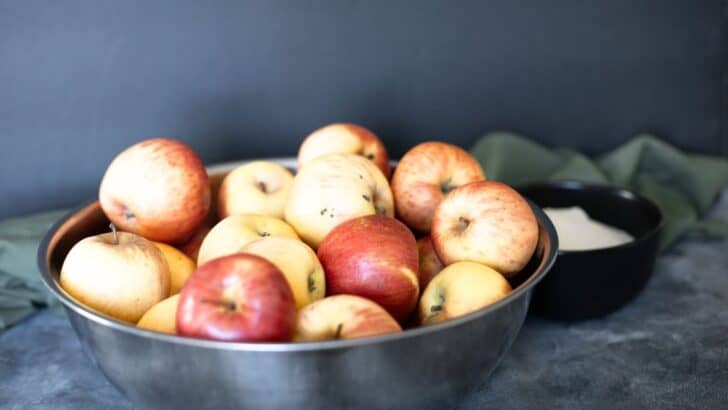
Softer types like Red Delicious or Golden Delicious are better for fresh eating or applesauce. Multipurpose apples (like Cortland) will work, but don’t expect them to stay quite as firm.
✨ Tip: A mix of sweet and tart apples always makes the best jars.
Plan on about 2 ¾ pounds of apples per quart (or 1 ¾ pounds per pint).
For a full canner load:
- 19 pounds = 7 quarts
- 16 pounds = 9 pints
A bushel (48 pounds) will yield roughly 16–18 quarts or 26–28 pints.
Syrups for Canning Apples
One of the beauties of canning your own fruit is choosing how much (or how little) sweetness you add. You can use plain water, but it will wash out flavor over time. A light syrup or juice gives better results.
- Very Light Syrup – most natural flavor
- 7 quarts: 10 ½ cups water + 1 ¼ cups sugar
- 9 pints: 6 ½ cups water + ¾ cup sugar
- Light Syrup – gently sweet
- 7 quarts: 9 cups water + 2 ¼ cups sugar
- 9 pints: 5 ¾ cups water + 1 ½ cups sugar
- Medium Syrup – rich and sweet
- 7 quarts: 8 ¼ cups water + 3 ¾ cups sugar
- 9 pints: 5 ¼ cups water + 2 ¼ cups sugar
Other options:
- Juice – apple, white grape, or even pineapple juice
- Honey/Maple Syrup – sub ⅔ cup for each 1 cup sugar in the recipes above
What You’ll Need
- Water Bath Canner, Steam Canner, or Pressure Canner
- Pint jars or quart jars with two-piece lids
- Canning tools: jar lifter, bubble remover, funnel, and ladle.
- Kitchen tools: large bowl, large stockpot, peeler, kitchen knife, cutting board, slotted spoon, and measuring cups.
How to Can Apples (Step-by-Step)
Prep Jars. Wash jars and lids. Keep jars hot in your canner water at a simmer (180°F).
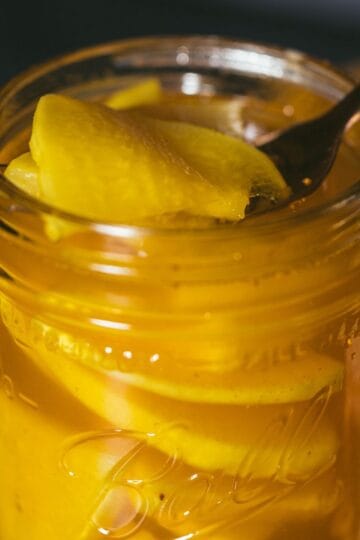
Prep Apples. Fill a large bowl with water + ½ cup bottled lemon juice (to prevent browning). Peel, core, and slice apples into the lemon water as you go. Save the peels and cores to make homemade apple cider vinegar!
Make Syrup. In a large pot, combine water and sugar (or juice/sweetener). Bring to a boil, stirring until dissolved.
Simmer Apples. Add sliced apples to the syrup and simmer 5 minutes. This drives out air and helps prevent floating.
Pack Jars. One jar at a time, empty hot water and fill with apples + syrup, leaving ½" headspace. Remove air bubbles, wipe rims, apply lids and bands.

Process Jars.
- Water Bath Canner. Cover jars with 1" water. Boil 20 minutes (pints & quarts). Adjust for altitude. Let sit 5 minutes in canner before removing.
- Steam Canner. Process 20 minutes (pints & quarts), adjusting for altitude. Let sit 5 minutes before removing.
- Pressure Canner. Process 8 minutes at 5 lbs pressure (under 1,000 ft) or 10 lbs (over 1,000 ft). Let pressure drop naturally.
Cool jars 12–24 hours. Remove bands, wipe jars, and store in a cool, dark place. Properly sealed jars last at least 18 months.
Jars will keep for a minimum of 18 months, or as long as the seal is maintained.
Up Next:
- Canning Oranges | Water Bath Canned Orange Slices
- Canning Peaches (how to easily can peaches at home)
- Canning Blackberries (homemade blackberries in syrup)
📖 Recipe

Canning Apples (Slices in Syrup)
Preserve the taste of fresh fall apples with this easy canning recipe. Tender apple slices are hot packed in light syrup (or juice) and processed for shelf-stable jars you can use in pies, crisps, cobblers, or simple side dishes all year long.
Ingredients
- 19 Lbs Fresh Apples
- 10-½ Cups Water
- 1-¼ Cups Granulated Sugar
- 2 Quarts Water
- ½ Cup Lemon Juice
Instructions
- Prepare jars and canner. Wash jars, lids, and bands in hot, soapy water. Keep jars hot in simmering water (180°F) until ready to use.
- Prep apples. In a large bowl, combine 2 quarts water with ½ cup bottled lemon juice. Peel, core, and slice apples, placing slices in the lemon water to prevent browning.
- Make syrup. In a large stockpot, combine your chosen water/sugar ratio (or juice). Bring to a boil, stirring until sugar is dissolved.
- Simmer apples. Add prepared apple slices to the syrup and simmer for 5 minutes to heat through and reduce air in the fruit.
Pack jars. One jar at a time, empty hot water and fill with hot apple slices. Ladle hot syrup over apples, leaving ½-inch headspace. Remove air bubbles, adjust headspace, wipe rims, and apply lids and bands until fingertip tight. - Process jars.
Water Bath or Steam Canner: Process both pints and quarts for 20 minutes, adjusting for altitude.
Pressure Canner: Process both pints and quarts for 8 minutes at 5 pounds pressure (under 1,000 ft) or 10 pounds pressure (over 1,000 ft). - Cool and store. After processing, let jars rest in canner 5 minutes before removing to a towel-lined counter. Cool 12–24 hours. Check seals, remove bands, label, and store in a cool, dark place for up to 18 months.
Notes
Altitude Adjustments for Water Bath and Steam Canning:
- 0-1,000 ft - 20 Minutes
- 1,001-3,000 ft - 25 Minutes
- 3,001-6,000 ft - 30 Minutes
- 6,001+ ft - 35 Minutes
Weighted Gauge Pressure Canner:
- 0-1,000 ft - 5 lbs
- 1,001+ ft - 10 lbs
Dial Gauge Pressure Canner:
- 0-2,000 ft - 6 lbs
- 2,001-4,000 ft - 7 lbs
- 4,001-6,000 ft - 8 lbs
- 6,001-8,000 ft - 9 lbs
Nutrition Information:
Yield:
28Serving Size:
1 CupAmount Per Serving: Calories: 271Total Fat: 1gSaturated Fat: 0gTrans Fat: 0gUnsaturated Fat: 0gCholesterol: 0mgSodium: 8mgCarbohydrates: 71gFiber: 7gSugar: 61gProtein: 1g
Nutrition information is automatically calculated and is not guaranteed to be accurate. I’m not a nutritionist... just a home cook sharing what works in my kitchen. Please use your preferred calculator if you need exact values for dietary needs or medical conditions.


Benny says
Hi my elevation is 6450 ft would it be like 23 min. Pressure canning ,and by the time my canner comes to pressure apples would be mushy do you think? And adding pickle crisp do you think might help with that issue just asking b cuz I hv an an electric pressure canner and I don’t think I can water bath on my glass top afraid to break it, appreciate your advice. Thank you
Elle says
At your elevation, you’ll want to process at 10 lbs pressure for 8 minutes. You’re also right that apples can get pretty soft in a pressure canner since it takes a while for the canner to come up and down from pressure. Pickle Crisp won’t really help much with that because it’s the high heat causing the mushiness. If texture is important to you, a water bath or steam canner really is the better option. You can safely water-bath on a glass top if you use a flat-bottomed canner and avoid dragging it across the surface. Or, if your manufacturer advises against it, a stand-alone electric water-bath canner (like the Ball FreshTech) is a good alternative.