
Onions are a pretty easy-to-grow crop. Started in the late winter or early spring they can be grown from seed, transplants (tiny seedlings), or sets (small onion bulbs on their second year of growth). Regardless of how you choose to grow onions, there are a few tips to help make your endeavor successful.
While some of our garden crops change every year, we always grow garlic and onions. In fact, those two crops are the only two we are pretty much completely self-sufficient on.
What is the easiest way to grow onions?
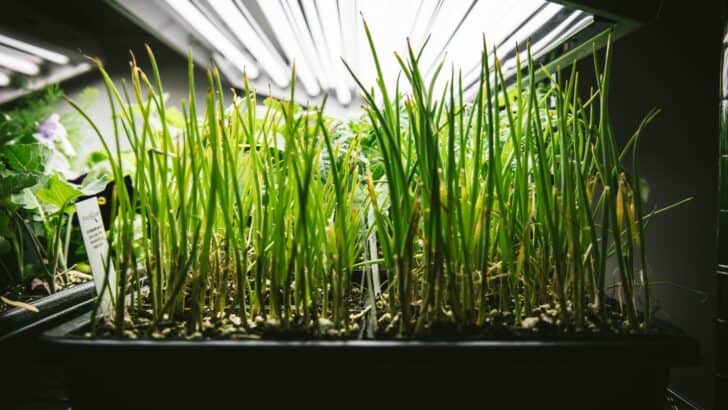
There are three ways to grow onions in your garden. They all have their own benefits, but my favorite way to grow onions is from seed. Growing onions from seed gives you more options for variety (which is important to us), and it's pretty hands-off, they just need a trim here and there.
You can also grow onions from transplants. While technically you'll transplant seedlings out to the garden if you start from seed, you can also purchase transplants from the nursery or local garden center.
The most common way to grow onions, however, is to grow them from sets. Sets are small onions that only take about 14 weeks to mature, making them slightly more desirable because they grow more quickly.
However, it's very easy to start the seeds indoors and be able to select your own heirloom seeds in a variety that you prefer that will do well where you're growing them.
Types of Onions
Since onions are photoperiodic (which means sensitive to daylight) they've been bred based on varying day lengths. There are three varieties of onions, short day, intermediate day, and long day. The distinction determines how many hours of light are required to form a bulb.
Each type is best suited for a certain growing season length and day length, so knowing which gardening zone you are in will help you decide which type of onion is best suited for your garden.
That said, many people have luck with different types, such as short-day varieties in colder zones with more sunlight or long-day varieties in warmer zones with less daylight. So, it is best to experiment a little and choose what works best for you.
Short Day Onions
Short-day onions require the least amount of sunlight to form a bulb, at around 10 hours of sunlight a day. These onions grow best in USDA hardiness zones 7 and up as these southern areas of the country have shorter daylight hours than northern gardeners.
Short-day onions can be grown further north than zone 7, but they may flower soon, resulting in smaller bulbs because the added daylight hours will trigger flowering. All said, these varieties do not store as well as intermediate or long-day onions, so keep this in mind when choosing.
Short-day varieties:
- Stuttgarter - yellow onions that mature early.
- Red Burgundy - red with white inside, stores short term.
Intermediate Day Onions
Intermediate-day onions also referred to as neutral-day onions, require about 12 to 14 hours of sunlight to form bulbs, but this particular type is pretty adaptable being able to be grown in a large portion of the United States. However, it is said that these types are best suited for zones 5 and 6 where they have sufficient hours of sunlight.
Farther north gets a bit too much light, farther south, a bit too little. That's not to say they can't be grown in these areas successfully, they can. They're just best suited for zones 5 and 6.
Intermediate-day varieties:
- Candy - a sweet-tasting white hybrid variety that stores well.
- Red Candy Apple - very sweet, red with white flesh will store for a few months.
Long Day Onions
Long-day onions will do best in the northern parts of North America from zone 6a and north. These varieties will require 14 to 16 hours of sunlight to form bulbs. That said, these varieties are the best for long storage. When provided with sufficient sunlight, they will form large bulbs and store them for long periods when stored properly.
Long Day Varieties:
- Walla walla - large bulbs that store well.
- Yellow Sweet Spanish - yellow-white, slightly sweet onions that store well.
Bulbing Onions, Green Onions, and Scallions
Bulbing onions come in a variety of colors and types from red to sweet and everything in between, but beyond that, bulbing onions can be enjoyed as green onions or scallions dependent on when they're harvested.
You can pick small bulbs from any variety and have green onions or scallions. However, there are also varieties known as "bunching onions" that do not bulb that can be grown just for this purpose, if you choose.
How to Grow Onions
Whether you grow from seed, transplants, or sets, onions are an excellent crop to add to your garden. They're easy to grow and can be grown in the ground, in a raised bed, or even in a container if you don't have space.
Growing Onions from Seed
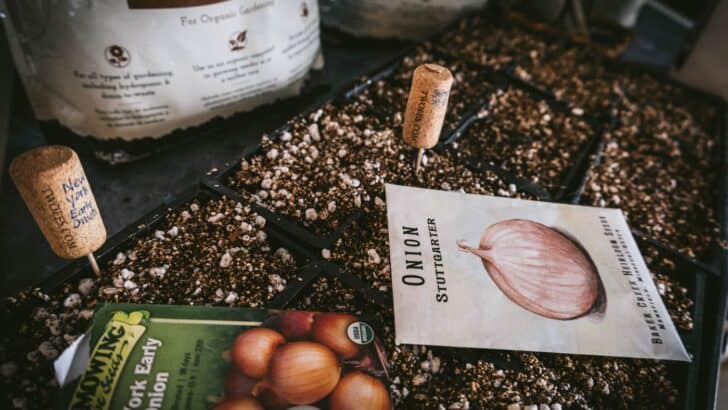
Unless you live in a warmer climate where the ground doesn't freeze over the winter, you'll want to start seeds indoors.
Onion seeds will be one of the first seeds you begin indoors, about 8 to 10 weeks before your last frost date.
Sow onion seeds in relatively large growing pots so you don't disturb the root systems. We use these with good success, we just punch holes in the bottom for drainage. Another good option is berry containers.
You'll want to dampen the seed starting mix, place it in the container and then place the seeds on top. Lightly cover them with a thin layer of the seed starting mix.
Onions germinate better with humidity (leave the dome on while you await germination) and a bit of heat (a heat mat or a greenhouse is ideal for this).
Keep the soil moist, not letting it dry completely between watering, but do not overwater.
Once you begin to see germination, remove the dome and the heat mat.
Make sure you keep your seedlings in full-spectrum sunlight for 12 hours a day and then provide 12 hours of darkness. This makes grow lights a great way to make sure your seedlings are receiving enough light.
Onions grow quickly once they germinate. When your seedlings are roughly 5 inches tall, cut the tops down to about 2 inches in height using a pair of sharp scissors. You can utilize these greens in dishes if you choose.
Onions are also heavy feeders. Fish emulsion can be utilized weekly after they germinate to help them have the right levels of nitrogen to thrive.
Hardening Off Onion Seedlings
If you started your seeds indoors, you'll want to acclimate your seedlings to the outdoors. This process is often referred to as "hardening off".
To successfully do this, about a week or so prior to transplanting your seedlings outside, you'll want to put them in a dry place outdoors to acclimate to the unpredictable outdoor elements.
On the first day, leave them out for about 3 hours and then bring them back indoors, on the second day 4 hours, and so on until you've left them out for a full day.
Planting Seedlings Outdoors
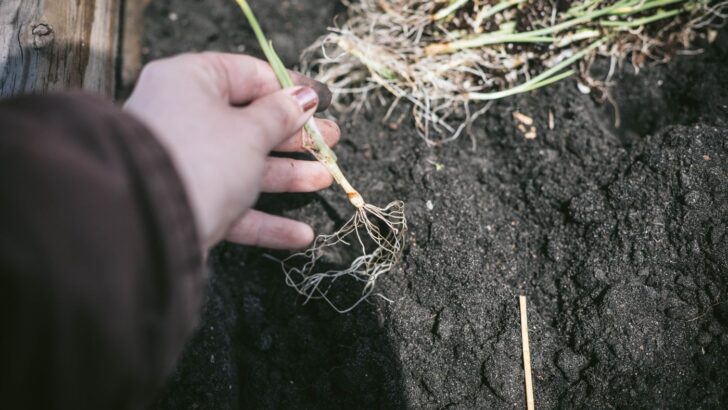
Be sure to plant onions in a spot that receives full sun and has well-draining soil for the best results whether you're planting from sets or seedlings.
Once the threat of frost and torrential rains have dissipated (about 2 weeks after the last frost), it's safe to transplant your onions outside.
You'll want to leave roughly 4 to 6 inches between each of the onions plants and if planting in rows, space rows 12 to 18" apart for the best results.
To plant onion sets, simply place the bulb in the soil with the pointed end up and cover it with soil and organic material.
If you're planting transplants, you can put 2 to 3 seedlings together, or separate them all into individual transplants. Just be careful so you don't damage the root systems as you pull them apart.
Personally, I plant each transplant individually, but you're still going to have great results if you plant 2 or 3 together, so the choice is really up to you.
Some folks like to trough out rows, I simply place a dowel rod into the soil to make a hole large enough and place the set or seedling in. Gently tamp down the soil around it and that's all there is to it.
Growing and Maintenance for Onions
Water
Once everything is transplanted, water the onion beds, but don't saturate them.
If you planted sets, you'll water daily until the plants germinate.
If you grew from seed, just water when the soil surface begins to dry out, typically once or twice a week to equal approximately an inch of water a week.
Mulch
Onions and weeds do not get along. Not only will mulching help retain soil moisture, it will also help control weeds in the onions so they're not competing and you won't struggle come harvest time.
Fertilize
Onions are heavy nitrogen feeders, without proper nitrogen levels, the bulbs will not form correctly.
I highly suggest you test your soil, where we are at, we have high levels of nitrogen in the soil and I've not actually had to fertilize my onion beds once they're transplanted.
However, if you test your soil and it's highly lacking in nitrogen, or your onion crop is looking a little lackluster rabbit poop is a fantastic, organic source of nitrogen that can be used straight on the garden.
If you need to fertilize, do so every few weeks until two weeks before harvest.
How long do onions take to grow?
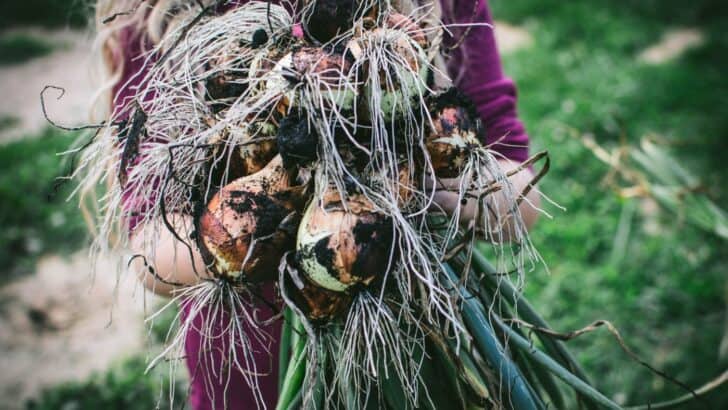
Onions take about four to five months to reach maturity when grown from seed.
If you plant sets, you'll be ready to harvest in just a couple of months.
If you'd like to harvest green onions, you can do so in about a month after transplanting.
Harvesting Onions
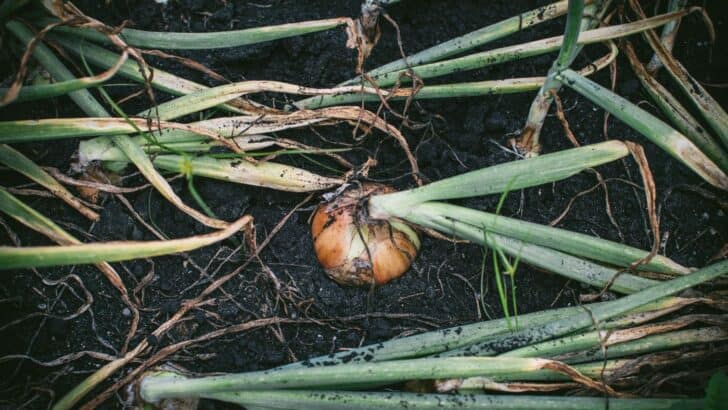
You can harvest onions at any point once they're established if you want to eat fresh onions or green onions.
That being said, you'll know your onions are ready to harvest when the green tops begin to flop over and turn brown and the crowns are beginning to pop above the soil level.
To harvest, simply grip the base of the green and pull upward towards the sky. The onions should pull right up out of the soil.
If they're stuck, you can use a little hand trough to help dig the soil out from around the bulb, just be mindful to not damage the bulb itself.
Drying and Curing Onions
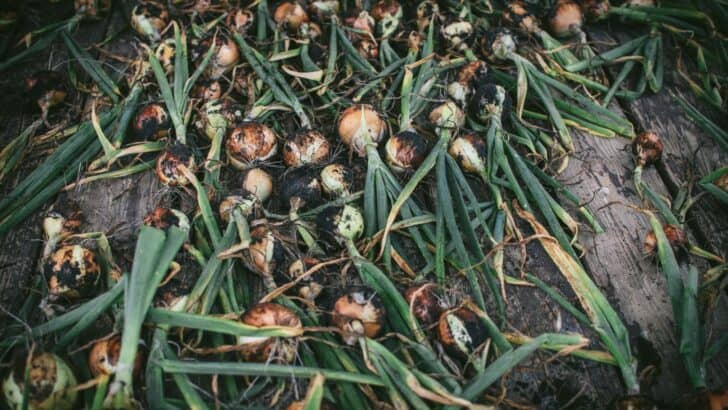
Once harvested, if you grew storage onions, they will need to be cured first. You'll lay them out, with the greens still attached for about a week until they form outer skins on their exterior.
Many folks, as long as the weather is dry and sunny, will just lay the onions out on top of the soil to dry. We lay ours out on top of screens to dry so the air circulates all around them. We do this in a partially shaded area for one week.
Once dried, the onions still need to cure or they will not store well at all. The time this takes varies. The best indicator is if you begin to cut or remove the green they will seep a milky white substance, this means they still need curing time.
If you make a small cut and they don't have any liquid seeping out, they're ready to put into storage.
Since we braid our onions, we actually braid them together after they've dried and they receive adequate ventilation and time to cure without consequence.
Storing Onions
We prefer to keep the greens attached and braid the onions with some string. We simply braid several (about 10) together and store onions in a dark corner of our garage. Pulling in one braid at a time, as needed, to use in the house.
If you prefer, you can cut the greens off and store them in mesh bags.
Regardless of your storage method, you'll want to keep them in a cool, dark, well-ventilated area for the best results. A garage, a cool basement, a root cellar, or the like is best.
If you don't have the means to store them, you can cut them and freeze them. You can also pickle them and dry them for various uses later on.
Onions, when stored in proper conditions, will keep for at least 6 months. In our experience, we can keep onions in our cool, dry, dark garage up until the next harvest.
Onions are fairly easy to grow, and I love the ability to choose whatever varieties I want and test them out. Some mature faster than others so I can kind of stagger the season a bit, and they're fun to cure and delicious to use. Just one step closer to that self-sufficient homestead!


Julie says
Danielle - growing onions is something I want to add this year, so thank you for this timely post! It does look easy, and I am less intimidated now about growing from seed. I am half way through cleaning out my greenhouse (I would have had it finished, except for all this rain!), and will be ready to start planting by February. Great information - I am going to print this out and put it in my garden book!
Danielle McCoy says
Hi Julie, it is really easy! I hope the post helps you have a bountiful harvest!
Lisa Brugnano says
Nice article. How do you prevent onions from bolting? I'm in southern California and my onions usually go to seed rather than forming a nice bulb. I use short day onions. Thanks.
Danielle McCoy says
Since you're in California, I would say water is your best friend to try to prevent bolting. Make sure you mulch around your onions to keep the soil a little cooler and keep the moisture level up. And water them. The water, as it evaporates, will help cool the air around them. It's probably just getting way too hot. And if you happen to have a random cold snap, cover them up. Onions bolt due to stress typically caused by temperature fluctuations or lack of water, so keep them watered (not drenched) and that will help keep them cool. If the onion does bolt, snip off the flowers and harvest it, eat it as soon as possible as they don't store well, but they're still edible.
Tamara Macmillan says
Thanks Danielle for a very informative article! I’ve always grown onions from sets but I’m going to try seeds this year.
Danielle McCoy says
Great! I hope it works out well for you!