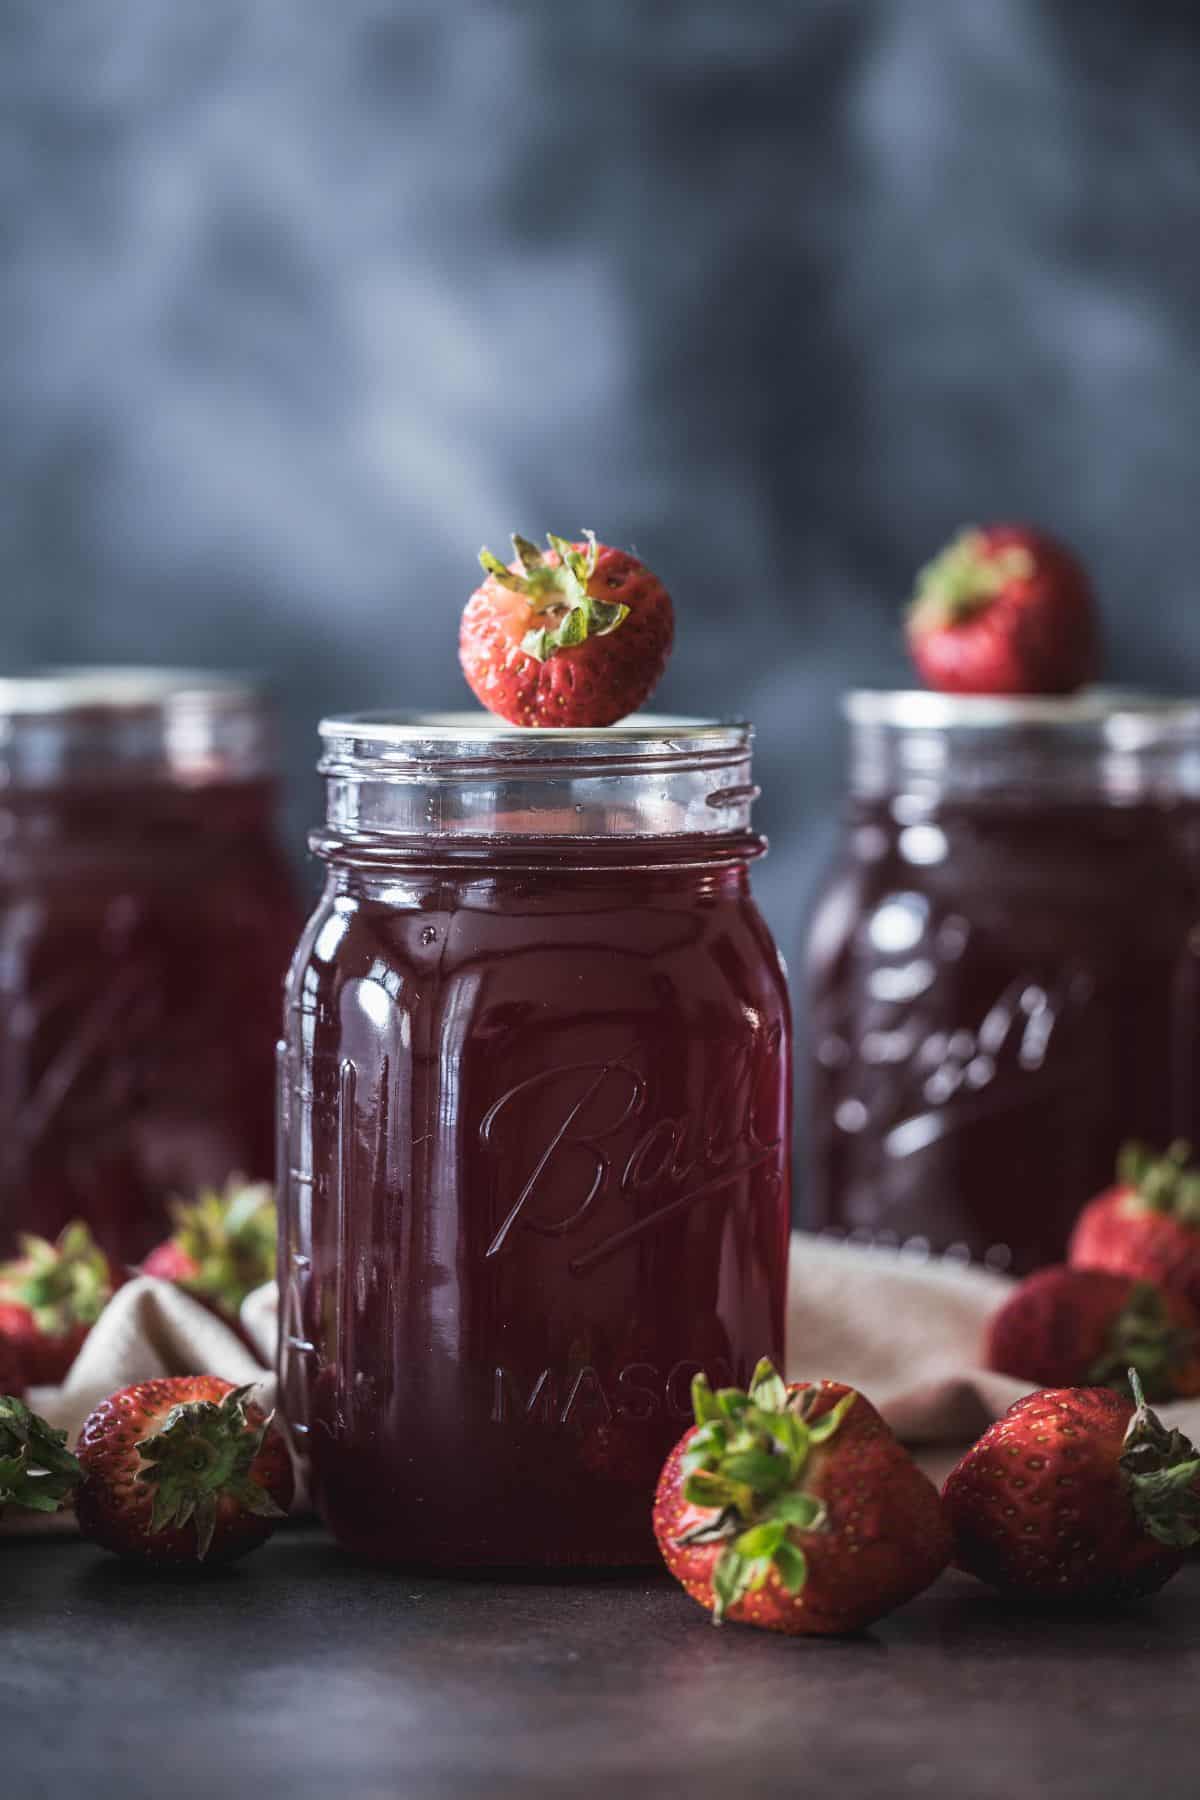
Capture summer in a jar with this easy homemade strawberry syrup recipe. Made with fresh strawberries, a hint of vanilla, and no artificial junk, this shelf-stable syrup is perfect for milk, waffles, lemonade, or sneaking by the spoonful.

There’s something about strawberries that just is summer. Maybe it’s the color. Maybe it’s the scent that hits you when you hull them, sweet and tangy and sticky on your fingertips. Or maybe it’s the way they turn into something even better when cooked low and slow... like this syrup.
I made this batch with a steam juicer, which has quickly become one of my favorite kitchen tools. It pulls the juice right from the berries with no straining, no mess, no fuss, just pure flavor.
A little sugar, a splash of lemon juice, and a touch of vanilla round it out. No Red 40. No corn syrup. Just real fruit, real pantry staples, and real satisfaction when you crack open a jar in February and pour it over pancakes.
Why You'll Love This Strawberry Syrup
It’s made with real ingredients. No food dyes, no high fructose corn syrup, no weird stabilizers, just strawberries, sugar, lemon juice, and vanilla.
It’s shelf-stable. Yep, this isn’t just fridge syrup. You can water bath can it for 10 minutes and stash it away for winter waffles or strawberry milk in January.
It’s ridiculously versatile. Use it in drinks, drizzle it over ice cream, mix it into yogurt or oatmeal, or swirl it into whipped cream. Heck, pour it over biscuits and call it breakfast.
It tastes like summer. One spoonful and you’ll know what I mean. Bright, juicy, a little tangy, and just sweet enough.
It makes you feel like the kind of woman who cans strawberry syrup. And I promise, you are that woman.
Ingredients You'll Need

4 pounds fresh strawberries. Hulled, rinsed, and ready to go. You want ripe berries... juicy, fragrant, and deep red. This is where the flavor comes from.
2½ cups sugar, divided. I like to sprinkle ½ cup directly on the strawberries in the steamer to start drawing out the juice, then add the rest to the syrup. You can reduce the sugar if you'd like, it's totally customizeable.
2 teaspoons bottled lemon juice. This adds brightness and balances the sweetness.
1 teaspoon vanilla extract. Optional, but it adds a soft, warm undertone that makes this syrup taste like something special. Real extract is worth it here.
Tools You'll Need
Steam juicer (or a fine mesh strainer & time). A steam juicer will make this nearly effortless, it extracts pure juice without any mashing or mess in a half hour.
But if you don’t have one, don’t worry. You can macerate the strawberries with sugar and let them sit for several hours (or overnight) to draw out the juice, then strain it through a fine mesh strainer or cheesecloth. It takes longer, but it works.
Large pot. For simmering the juice with sugar, lemon juice, and vanilla into a luscious syrup.
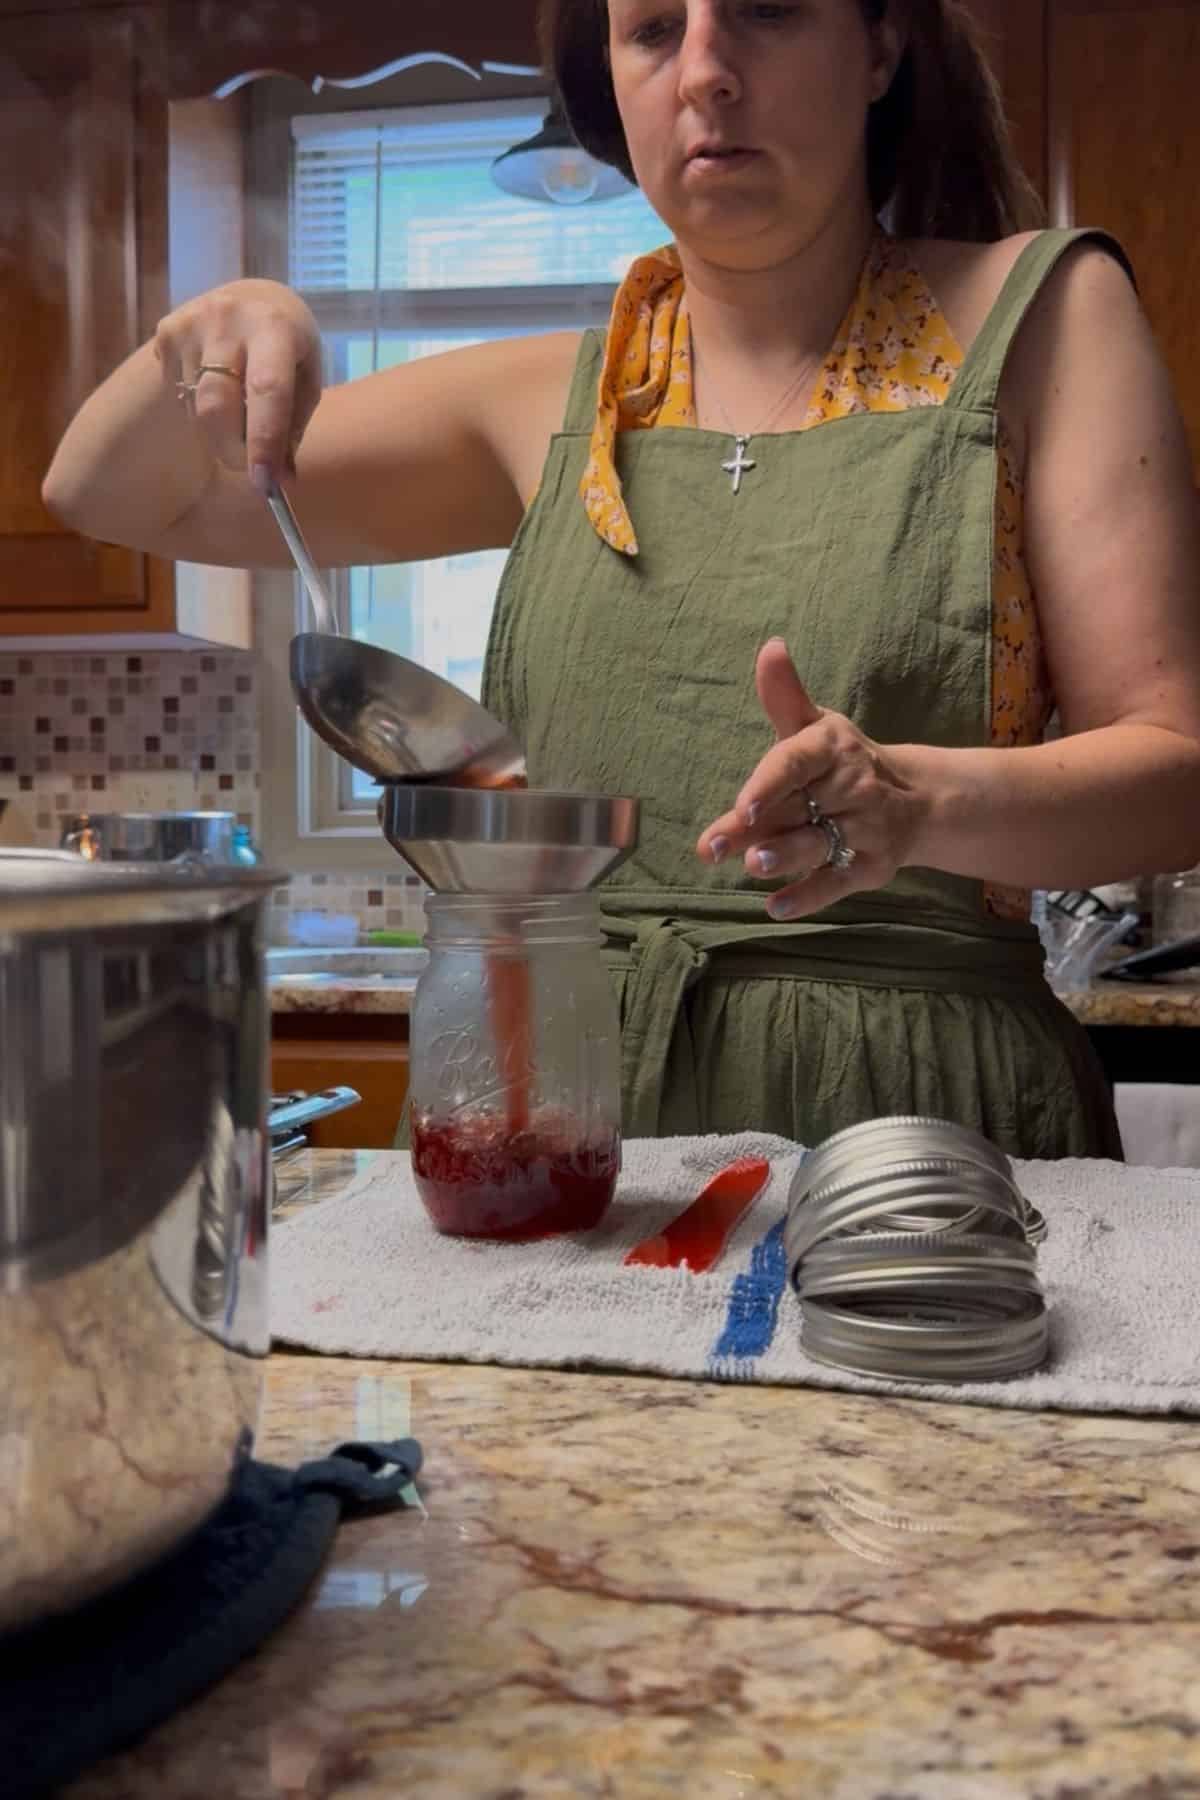
Canning funnel & ladle. These make transferring syrup into jars a breeze and far less sticky.
Water bath canner. A basic boiling water bath is all this recipe needs for safe, shelf-stable jars. A deep stockpot with a rack or towel on the bottom works too.
Canning jars and two piece lids. Half-pint or pint jars work beautifully. Just make sure they’re clean and warm before filling.
Jar lifter. A jar lifter makes this so much simpler and safer.
How to Make Strawberry Syrup (step-by-step)
This is simple stuff, just good ingredients and a little time. I used a steam juicer for the smoothest, best syrup, but I’ll walk you through both methods. Either way, the flavor is pure summer.
Prep the strawberries. Start with 4 pounds of fresh, ripe strawberries. Hull them (cut off the green tops), and give them a quick rinse. You don’t need to chop them, just toss them whole into your steam juicer basket.
No steam juicer? Hull and halve your berries, toss them with ½ cup of sugar, and let them sit in a bowl or large jar for several hours (or overnight in the fridge). The sugar will draw out the juice. Strain it through a fine mesh sieve or cheesecloth, pressing gently if needed. Then proceed with the next steps using the collected juice.
Steam the juice. In your steam juicer, add ½ cup sugar over the berries to help coax the juice out as they steam. Let the juicer do its thing, usually about a half hour or so, until you’ve got around 5–6 cups of beautiful strawberry juice.
Simmer the syrup. Pour the juice into a large pot. Add:
- 2 cups sugar
- 2 teaspoons bottled lemon juice
Bring it to a gentle boil, then reduce to a simmer. Stir occasionally until the sugar fully dissolves and the syrup is slightly thickened, about 20 minutes. Then, add in a teaspoon of vanilla extract (if using).
Tip: Don’t overcook it, it’s meant to be pourable, not jammy.
Fill the jars. Ladle the hot syrup into warm, clean jars, leaving ½-inch headspace. Wipe the rims, apply lids, and screw bands on fingertip-tight.
Process. Process in a boiling water bath canner for 10 minutes (pints and half-pints both get the same time). Adjust for altitude if needed.
Cool and store. Let jars sit undisturbed for 12–24 hours. Check seals, wipe jars, and store in a cool, dark place. Shelf stable for at least 18 months, but let’s be real, it won’t last that long.
Ways to Use Strawberry Syrup
Once you’ve got a jar of this sunshine sealed on your shelf, the fun begins. Here are some of our favorite ways to put it to good use:
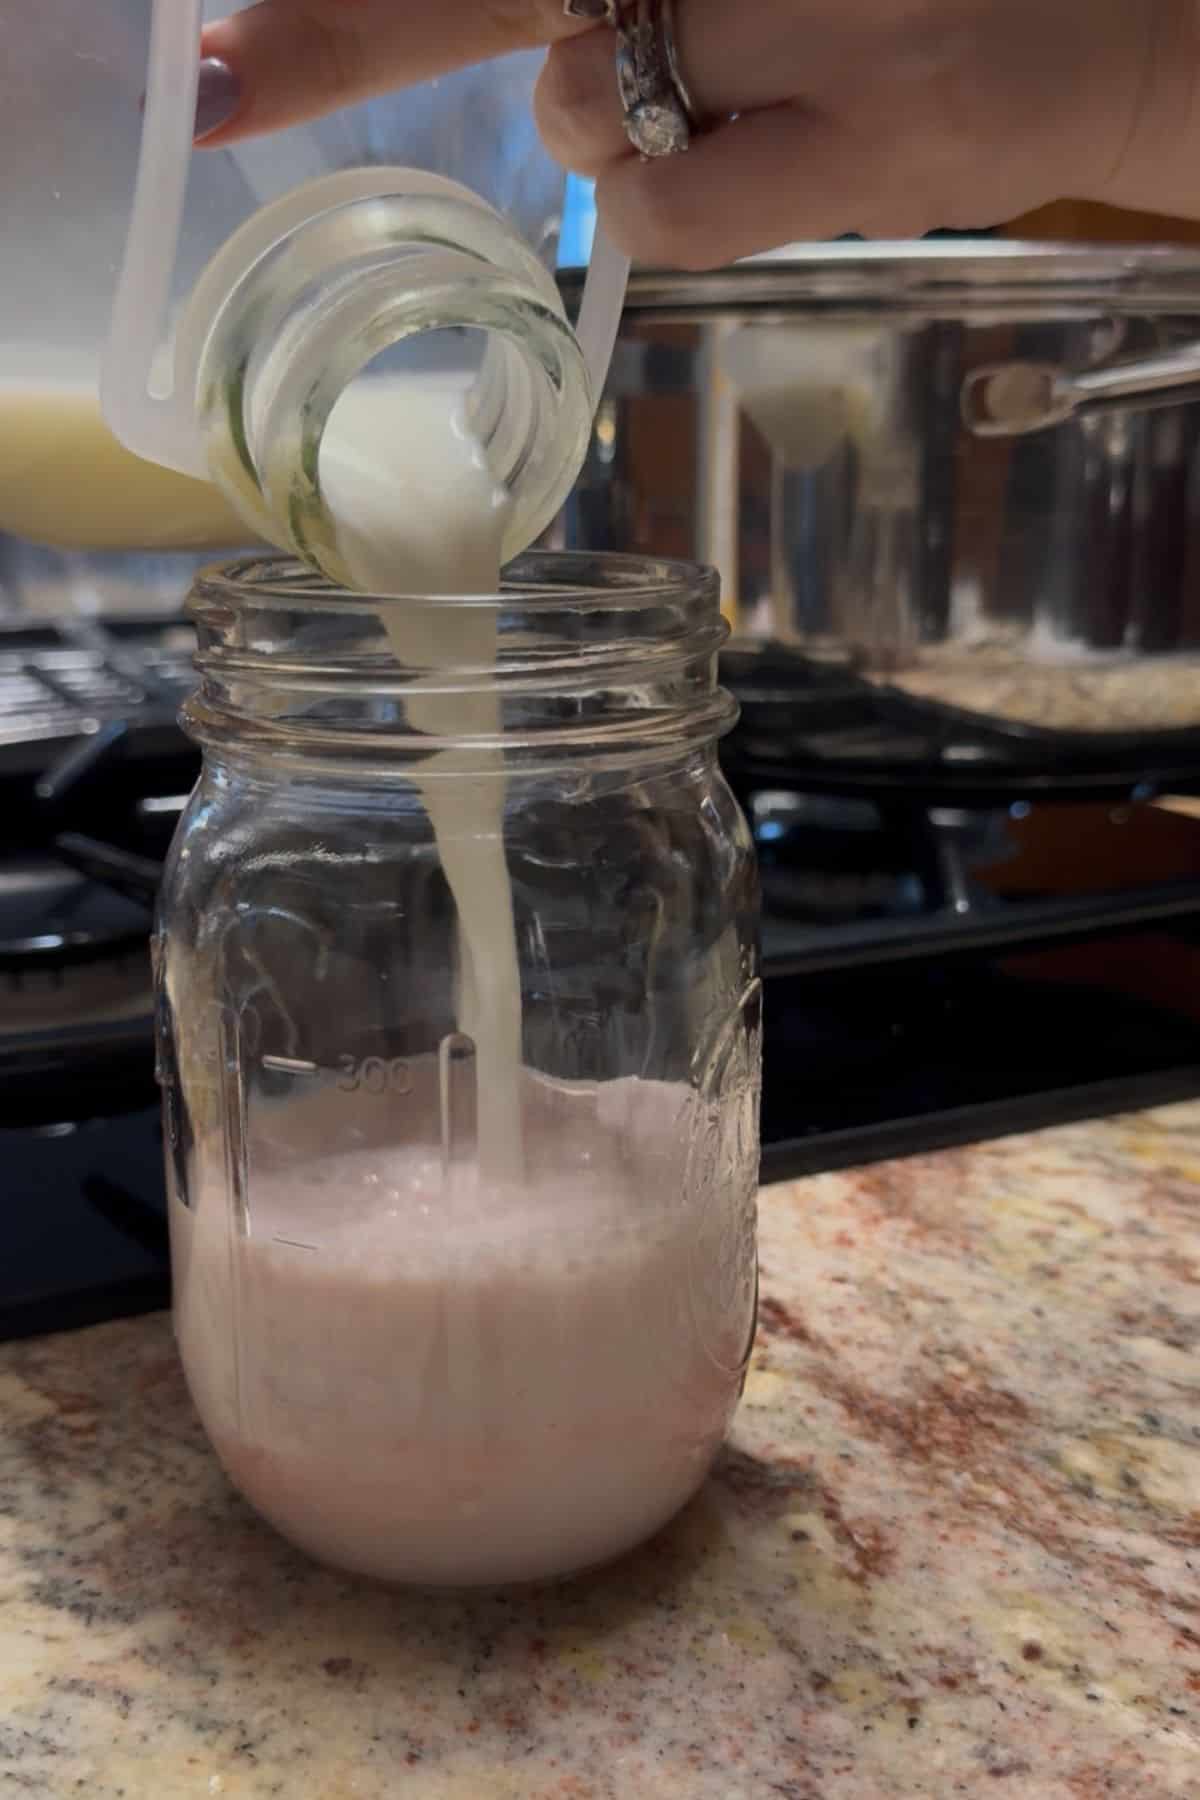
- Strawberry milk. Add a spoonful (or two) to a glass of cold milk and stir. That’s it. No corn syrup. No dyes. Just magic.
- Drizzle it on pancakes, waffles, or French toast. It’s thinner than jam and sinks right into those crispy edges.
- Pour over ice cream. Especially vanilla. But honestly, it’ll elevate any flavor.
- Cocktails and mocktails. Stir into lemonade, iced tea, soda water, or your favorite spirit for a fruity twist.
- Yogurt or oatmeal topper. Adds natural sweetness and real berry flavor to breakfast without artificial anything.
- Brush on cakes or use in baking. Use as a cake soak or filling base for strawberry layer cakes, muffins, or bars.
Quick Tip: If your syrup ever gets a little too thick in storage, just warm it up in a pan with a splash of water. Good as new.
Need more strawberry preservation ideas?
- Strawberry Preserves with Honey & Vanilla
- How to Can Strawberries in Syrup
- Low-Sugar No Pectin Strawberry Jam
📖 Recipe

Strawberry Syrup for Canning
This homemade strawberry syrup is made from fresh berries, gently sweetened, kissed with vanilla and lemon, and water bath canned for shelf-stable simplicity. Drizzle it over pancakes, stir it into milk, or save it for summer in a jar all year long.
Ingredients
- 4 pounds fresh strawberries, hulled
- 2 ½ cups sugar (divided)
- 2 teaspoons bottled lemon juice
- 1 teaspoon Vanilla Extract
Instructions
- Extract the juice. Steam juicer method (preferred): Layer berries into the top colander and sprinkle with ½ cup sugar. Steam until fully juiced, this takes about 30 minutes.
Maceration method: Mash berries with ½ cup sugar and let sit for a few hours or overnight to draw out the juice. Then strain through a cheesecloth-lined sieve or jelly bag. - Combine and simmer. Measure your juice, you should have about 4-5 cups. Pour into a large pot. Stir in the remaining 2 cups of sugar, lemon juice, and vanilla. Bring to a boil, then simmer gently for 5-10 minutes until sugar is fully dissolved and syrup slightly thickens.
- Prepare jars. Wash pint or half-pint jars and keep warm. Simmer new lids and rings if using.
- Fill and seal. Ladle hot syrup into hot jars, leaving ½ inch headspace. Wipe rims, apply lids, and adjust bands to fingertip-tight.
- Water bath process. Process jars in a boiling water bath for 10 minutes (adjusting for altitude, see below). Start timing once water returns to a full rolling boil.
- Cool and store. Remove jars and let sit undisturbed for 12-24 hours. Check seals, then label and store in a cool, dark place. Refrigerate any unsealed jars and use within 3 weeks.
Notes
Altitude Adjustments for Water Bath Canning:
- 0–1,000 ft: 10 minutes
- 1,001–3,000 ft: 15 minutes
- 3,001–6,000 ft: 20 minutes
- 6,001–8,000 ft: 25 minutes
- 8,001–10,000 ft: 30 minutes
Nutrition Information:
Yield:
56Serving Size:
2 TbspAmount Per Serving: Calories: 45Total Fat: 0gSaturated Fat: 0gTrans Fat: 0gUnsaturated Fat: 0gCholesterol: 0mgSodium: 0mgCarbohydrates: 11gFiber: 1gSugar: 11gProtein: 0g
Nutrition information is automatically calculated and is not guaranteed to be accurate. I’m not a nutritionist... just a home cook sharing what works in my kitchen. Please use your preferred calculator if you need exact values for dietary needs or medical conditions.


Leave a Reply