
Looking to simplify your meal prep while still enjoying the wholesome goodness of home-cooked beans? Discover how easy it is to can dried beans at home, giving you a healthy, shelf-stable pantry staple ready to use in your favorite recipes!

Dried beans are a cherished pantry staple for many households, but preparing them traditionally requires advance planning and hours of cooking. Thankfully, canning dried beans is a straightforward process that offers a practical solution. It not only provides you with nutritious, shelf-stable ingredients but also simplifies weeknight meal preparation.
Cooking from scratch is a labor of love that connects us with our food and allows us to control the quality of ingredients. However, in today’s fast-paced world, finding time to soak and cook beans for hours can be challenging. Whether you're managing a busy work schedule or juggling family responsibilities, time is often in short supply.
While I cherish the process of cooking from scratch and enjoy the benefits of using wholesome ingredients, I understand the need for convenience. Spending over six hours daily in the kitchen isn’t always feasible. Beans, in particular, require considerable time and planning, from soaking overnight to lengthy cooking periods.
This is where home canning becomes a blessing. Just as I regularly can bone broth, raspberry jam, applesauce, fruits, and even venison, I’ve found that canning beans is equally rewarding. By incorporating this method into my routine, I ensure that healthy, ready-to-use beans are always available for quick meals like venison chili, refried beans for burritos, or chicken tortilla soup.
Canning beans at home is surprisingly easy. It doesn’t take significantly more time than cooking a pot of beans, and the result is a shelf-stable pantry staple that can last up to 18 months. Each year, after the busy harvest season, I preserve several canner loads of dried beans. This way, I have multiple jars of beans ready for quick meals throughout the months, and if needed, I can preserve additional beans to carry us through the summer.
Tips for Canning Dried Beans
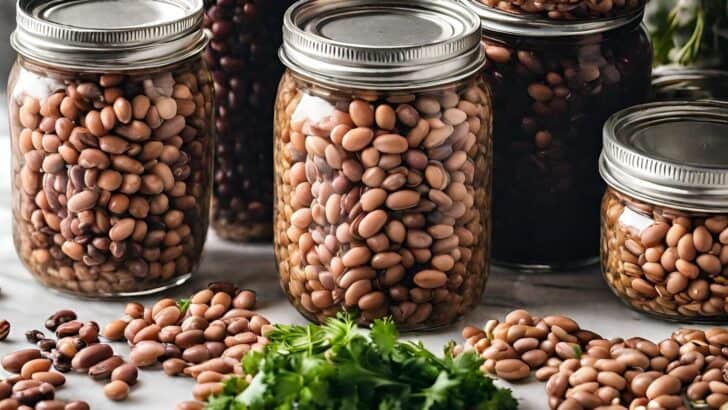
Beans are classified as low-acid foods, so they must be processed using a pressure canner, not a water bath canner. Pressure canners differ from pressure cookers, and I’ve grown fond of my All-American 921, which accommodates up to 19 pint jars or 7 quart jars per load.
According to the National Center for Home Food Preservation, dried beans should be soaked and simmered before canning. For a canner load of 7 quarts, you'll need about 5 pounds of dried beans, and for 19 pints, approximately 7 pounds. The bean broth from home-canned beans can be used in cooking, eliminating the need to rinse the beans.
You are able to can various types of beans, including pinto, black, kidney, great northern, navy, lima, garbanzo, and chickpeas. Feel free to mix different varieties in the same canner load or jar, as they are processed for the same amount of time.
How to Can Dried Beans
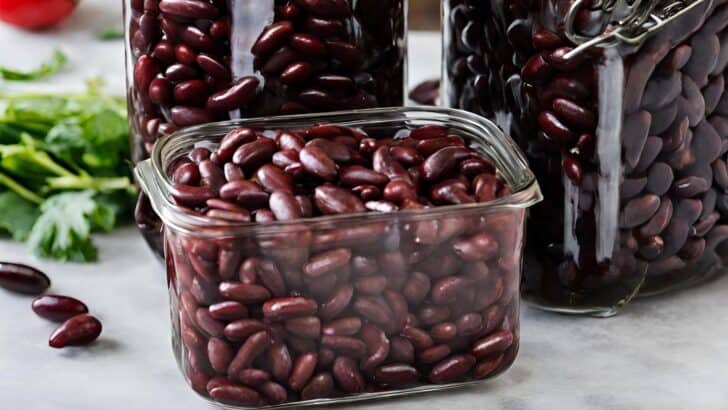
Step 1: Soak Beans
Choose from two soaking methods: overnight or quick soak.
Overnight Soak: Rinse and sort beans, then place them in a large bowl. Cover with cold water, leaving 2 inches above the beans. Let soak for 12 to 18 hours, then drain and rinse.
Quick Soak: Rinse and sort beans, then place them in a large pot. Cover with boiling water, boil for 2 minutes, cover, and let soak for one hour. Drain and rinse.
Step 2: Cook Your Soaked Beans
Drain the soaking water and rinse beans. Place them in a large stockpot, covering with water 2 inches above the beans. Bring to a boil over high heat and cook for 30 minutes. Reduce heat to keep beans warm while preparing for canning.
Step 3: Gather Your Canning Supplies
While beans are cooking, gather your canning supplies:
- A pressure canner
- 7 Quart Jars or 19 Pint Jars (or however many jars your canner will hold)
- Lids and Rings
- Canning tools: jar lifter, lid lifter, bubble popper, and canning funnel
- Ladle
Step 4: Prepare Canner, Jars and Lids
Wash jars and lids in hot, soapy water, rinse well. Place jars filled with water in the pressure canner and add 3 inches of water to the canner. Cover and boil jars for 10 minutes. Simmer lids in a small saucepan of water for 10 minutes. Keep jars and lids warm until use.
Step 5: Fill Jars with Pre-Cooked Beans
Pack hot jars with partially cooked beans and cooking liquid. The beans will still be firm but will finish cooking in the canner. You may add a teaspoon of salt per quart or half a teaspoon per pint if desired, though salt is optional.
Add hot water to cover the beans, leaving a 1-inch headspace. Use the bubble popper to remove air bubbles and adjust headspace if needed. Wipe jar rims with a damp cloth, center lids, and tighten screw bands to fingertip tight. Place jars in the canner using the jar lifter.
Step 6: Process Jars in Pressure Canner
Process jars according to your canner’s instructions. For my canner, I place jars on the rack, add 2-3 inches of water, cover, and tighten the lid. Allow the canner to steam and vent for 10 minutes before adding the weight. Follow altitude adjustments for proper pressure:
- Weighted-gauge pressure canner:
- 1-1,000 ft: 10 lbs
- 1,001 ft and above: 15 lbs
- Dial-gauge pressure canner:
- 0-2,000 ft: 11 lbs
- 2,001-4,000 ft: 12 lbs
- 4,001-6,000 ft: 13 lbs
- 6,001 ft and above: 14 lbs
Process pints for 75 minutes and quarts for 90 minutes. Allow the canner to cool naturally to 0 pressure. Remove the weight, unscrew the lid, and carefully remove jars with a jar lifter. Let them cool on a towel-lined counter for 12-24 hours. Store sealed jars in a cool, dark place for up to 18 months.
With this method, you can keep your pantry stocked with wholesome, home-canned beans, making mealtime both easy and nourishing. May this process simplify your cooking and bring joy to your kitchen!
Other Canning Posts You'll Love:
📖 Recipe
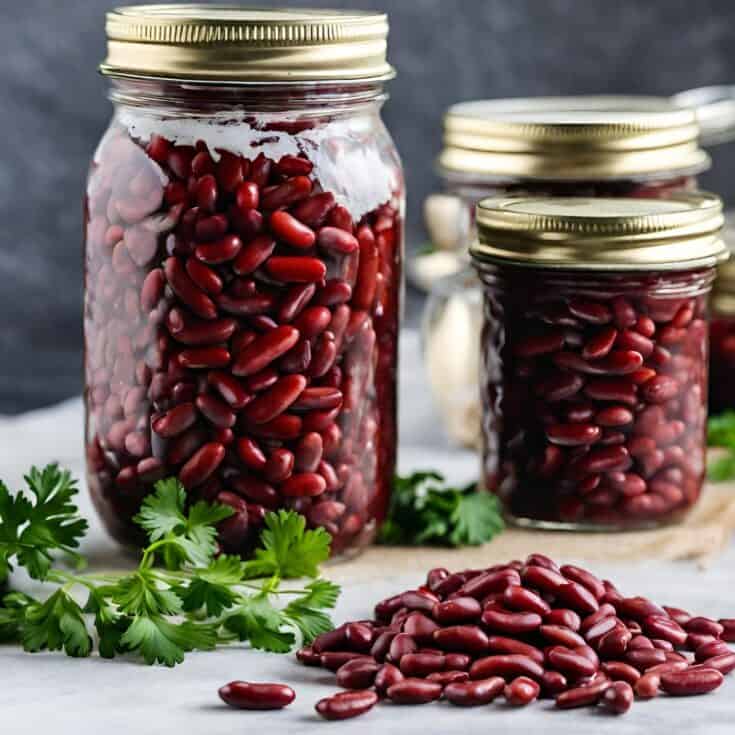
How to Can Dried Beans
Make meal prep a cinch with these easy canned dried beans. It will make all of those bean dishes so easy and you'll have home canned beans to prepare your meal.
Ingredients
- 4-5 Pounds Dried Beans (8-9 Cups)
- Sea Salt (optional, see note)
- Water
Instructions
Soak Beans:
- Overnight Soak: Rinse and sort beans. Place in a large bowl, cover with cold water (2 inches above beans), and soak for 12-18 hours. Drain and rinse.
- Quick Soak: Rinse and sort beans. Place in a large pot, cover with boiling water, boil for 2 minutes, cover, and let soak for 1 hour. Drain and rinse.
Cook Beans:
- Place soaked beans in a large stockpot. Cover with water, about 2 inches above the beans. Bring to a boil and cook for 30 minutes. Keep beans warm while preparing jars.
Prepare Jars and Canner:
- Wash jars and lids in hot, soapy water. Place jars in a pressure canner, add 3 inches of water, and bring to a boil for 10 minutes. Simmer lids in a saucepan of water for 10 minutes. Keep everything warm until use.
Fill Jars:
- Pack hot jars with partially cooked beans and cooking liquid, leaving a 1-inch headspace. If desired, add 1 teaspoon of sea salt per quart (optional). Remove air bubbles, adjust headspace, wipe rims, and apply lids and rings.
Process Jars:
- Process jars in a pressure canner at 10 lbs pressure (adjust for altitude if needed) for 90 minutes. Allow the canner to cool naturally. Remove jars and let cool for 12-24 hours before storing in a cool, dark place.
Notes
Altitude Adjustments for Pressure Canning:
- Weighted-Gauge Pressure Canner:
- 1-1,000 ft: 10 lbs pressure
- 1,001 ft and above: 15 lbs pressure
- Dial-Gauge Pressure Canner:
- 0-2,000 ft: 11 lbs pressure
- 2,001-4,000 ft: 12 lbs pressure
- 4,001-6,000 ft: 13 lbs pressure
- 6,001 ft and above: 14 lbs pressure




gail says
I have never thought of canning dried beans, but how convenient it would be to have them! I'll try this next summer when I buy my new stock of beans at our Farmers Market! Thanks! 🙂
Danielle McCoy says
It makes it so much more convenient to have them in the pantry ready to go at a moments notice! It takes a lot of the "oops... I forgot to set out the beans last night" out of the equation. I hope it helps you out! 🙂
April J Harris says
I've pinned this post to my Canning and Preserving Board. I know so many of the readers at the Hearth and Soul Hop will love it. Thank you for sharing how to can dried beans. I've never done any canning before but it is such a wonderful way to preserve food and be self sufficient!
Danielle McCoy says
Thank you for pinning :). I appreciate it! Canning is a lot of fun for me. I enjoy learning different ways to preserve food, but canning is my favorite. It definitely helps you be a little more self-sufficient!
Bonnie V says
I've been wanting to can dried beans. It seems a lot cheaper and healthier than store bought, and we do use a lot of beans. It's so much easier to have them already soft from canning.
Thanks for sharing on the Homestead Blog Hop. Your post has been selected as one of our weekly features. Please feel free to stop by http://www.notsomodern.com/homestead-blog-hop-67.html/ and grab a Featured button to add to your post.
Danielle McCoy says
I'm a planner by heart, but I always, always forget to set out my beans! We try really hard to properly prepare our foods, plus not having the beans soaked means they take for-ever to cook lol. It makes it so much easier to just pop a jar open and use them however I want to at the last minute!
Thanks for featuring! I'll go grab a button :).
mel says
Could I put a bullion cube in a pint instead of the salt?
Danielle McCoy says
Bouillon has more in it than salt, so, no it wouldn't be safe to add it to a pint. You could omit the salt altogether, though. Then, when you're ready to warm up your beans, you could throw them in some broth or add a bouillon cube to add that flavor in if you'd like.
Debbie Bird says
I have canned dried beans but I cook them somewhat before canning them. Just curious if they get completely done in the canning process if you can them dried with no cooking prior.
Danielle McCoy says
Hi Debbie! Thank you SO much for pointing out that I didn't list cooking before I canned them. I just recently redid all of my recipes so that they post on these printable cards. I somehow posted green beans and dried beans with the same exact process. I'm so sorry! I am fixing it now, though!
Kim Espinola says
@Debbie Bird, Please check with your state extension agency for information about NOT canning beans dry. I canned dried beans that only went through the soaking process. They expanded beyond the jar, and did not seal. Danielle is correct in doing the partial cooking before the canning.
Karen Martin says
Even after following directions to a tee, my 14 pints of home-grown pinto beans boiled dry with five minutes left and warped my fairly new canner. Three quarts of water is not enough even at medium heat for 75 minutes. This was an expensive lesson. Mirror is testing my canner for any problem but my beans are a no-go.
Danielle McCoy says
I'm sorry that happened! Nowhere in my instructions do I say three quarts of water, though. I'm assuming you mean your canner dried out? You should be following the directions for your canner, but three inches of water on the bottom of your canner is typically what is recommended and should be more than adequate if your canner is operating properly and being used correctly, it shouldn't go dry. I've canned dry beans multiple times using this exact method with 3" of water in the bottom of my canner and never had any issue. Hopefully mirro can sort it out for you.
June Oosterhouse says
Another tutorial I watched suggested that you did not have to soak before filling the jar. is it important to soak or your preference?
Danielle McCoy says
It's important to soak, this helps rehydrate the beans to ensure the heat penetrates so that they are safely canned.
Diane says
I didn’t see how far up to fill the jar (I may have overlooked it but I went back and re-read but didn’t see it). Do you fill it up to the first ring, 1 inch headspace? Thank you so much!
Danielle McCoy says
Yes, 1-inch headspace.
Scott Worl says
Hello, I do both oven dry bean canning and your method , using beef or pork broth. Quick note, I thought chick peas and garbanzo beans are the same bean- the only difference is the name- garbanzo beans is Spanish name for them and chick peas being the European name? Thank you
Danielle McCoy says
They can be used interchangeably. They are essentially the same bean but here in the U.S garbanzo beans are typically the larger variety of chick pea. I hope that helps.