
Canning Mississippi Pot Roast is one of the easiest ways to turn a comfort-food favorite into a shelf-stable meal you’ll actually use. This pressure-canned version keeps all the tangy, savory flavor without the crockpot babysitting or weeknight chaos.
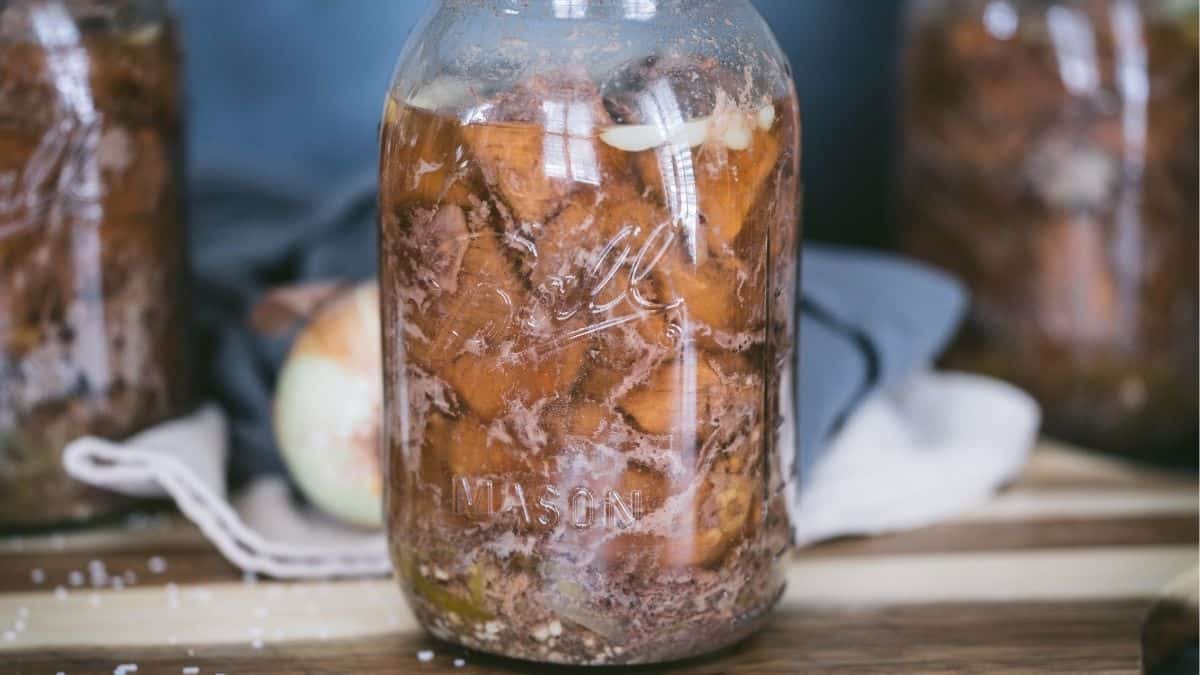
Let’s get this out of the way up front: this is not Pinterest-perfect pot roast. There’s no butter stick floating around in here, no crockpot fantasy, and no pretending this is complicated.
This is Mississippi pot roast you can open on a Tuesday when life is crazy and people are hungry.
While You’ll Love This Recipe
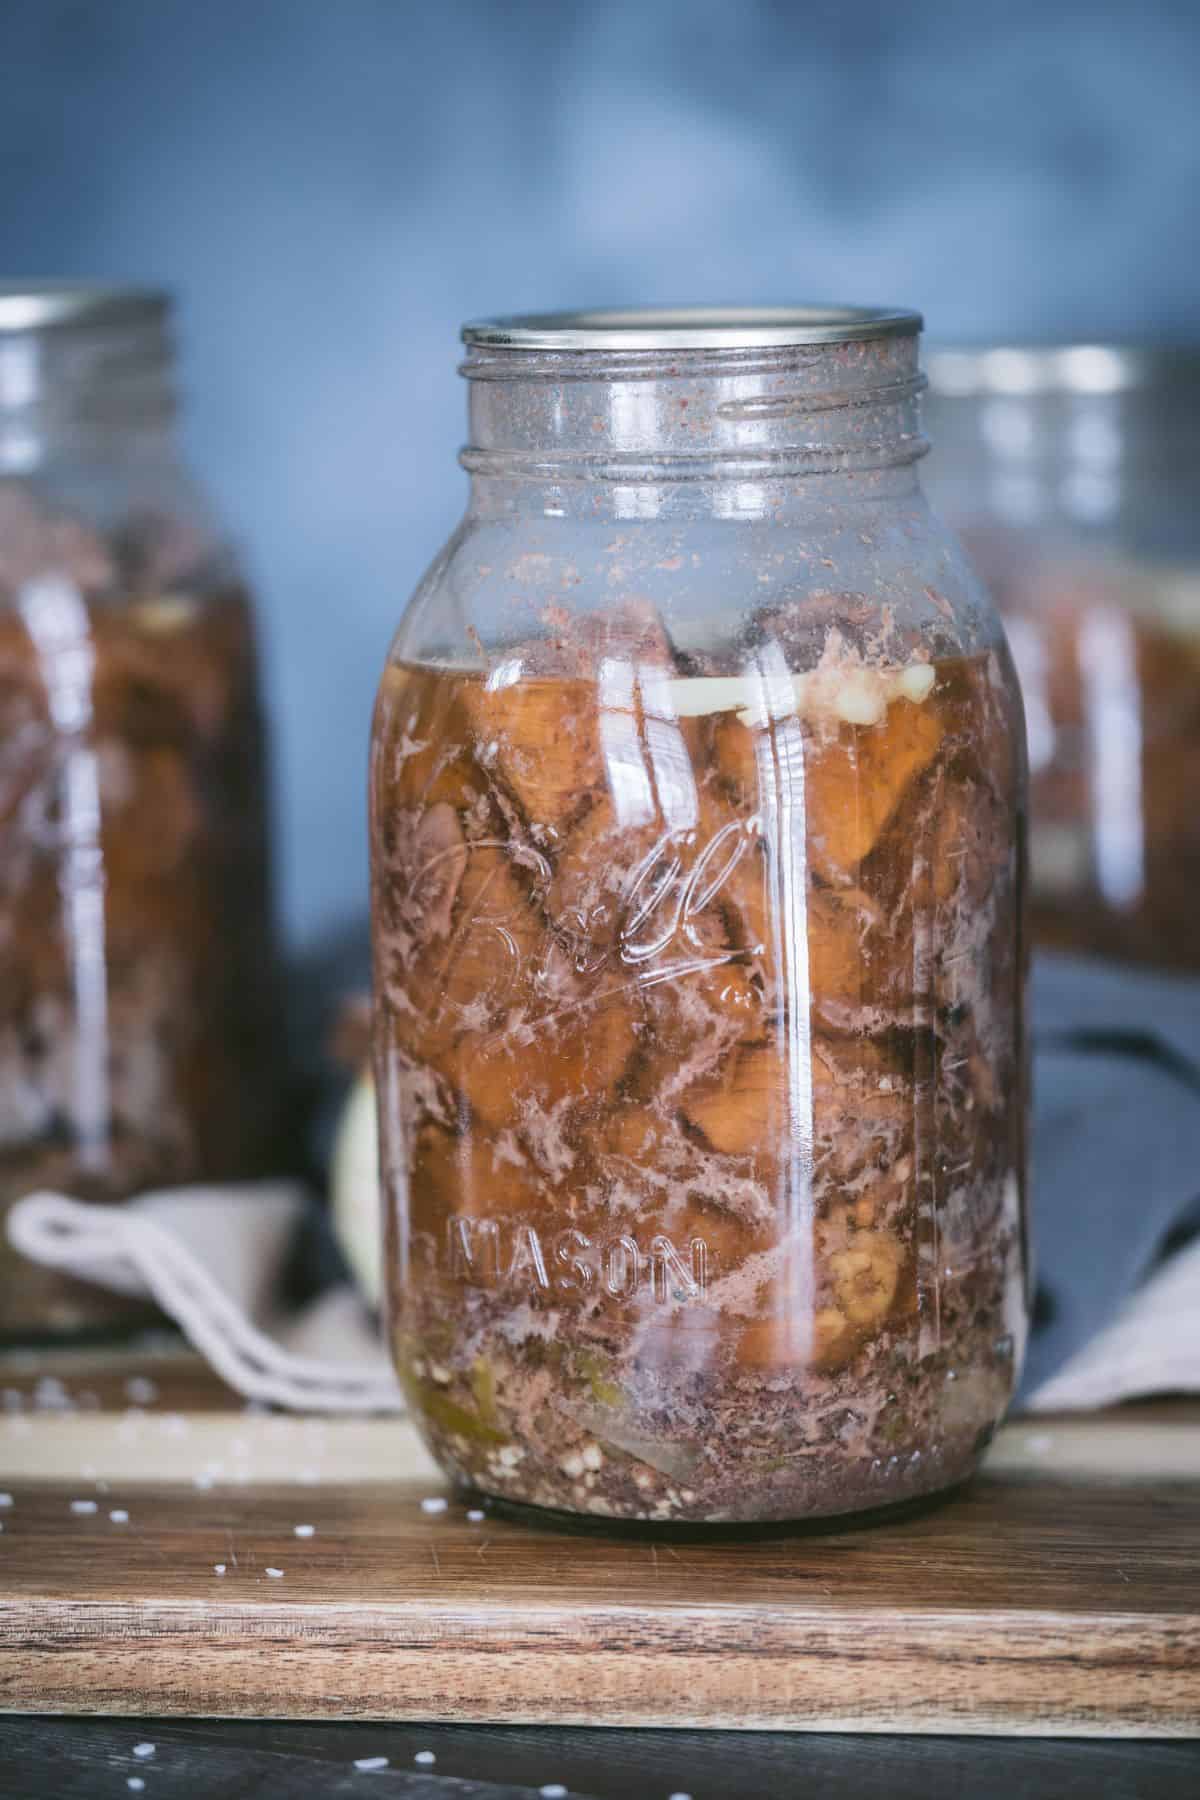
You’ll love this because it takes an all-day comfort food and turns it into a shelf-stable, ready-to-eat meal that can be on the table in under 30 minutes.
That said, here are a few things to keep in mind:
- This isn’t a “dump everything in the crockpot and forget it” situation. Instead, this is preserving a meat-based meal safely so you can eat it later without wondering if it’s going to kill you.
- If your version of Mississippi pot roast includes butter, cream cheese, or thickeners, those get added when you open the jar, not before canning.
- The flavor deepens as it sits. If you open it right away, it’s good. If it’s been on the shelf a few months, it’s better.
- This is flexible food. Eat it as-is, shred it, turn it into sandwiches, pot pie filling, or freeze leftovers after opening.
You’re not locking yourself into one meal, you’re buying yourself options.
What I Used
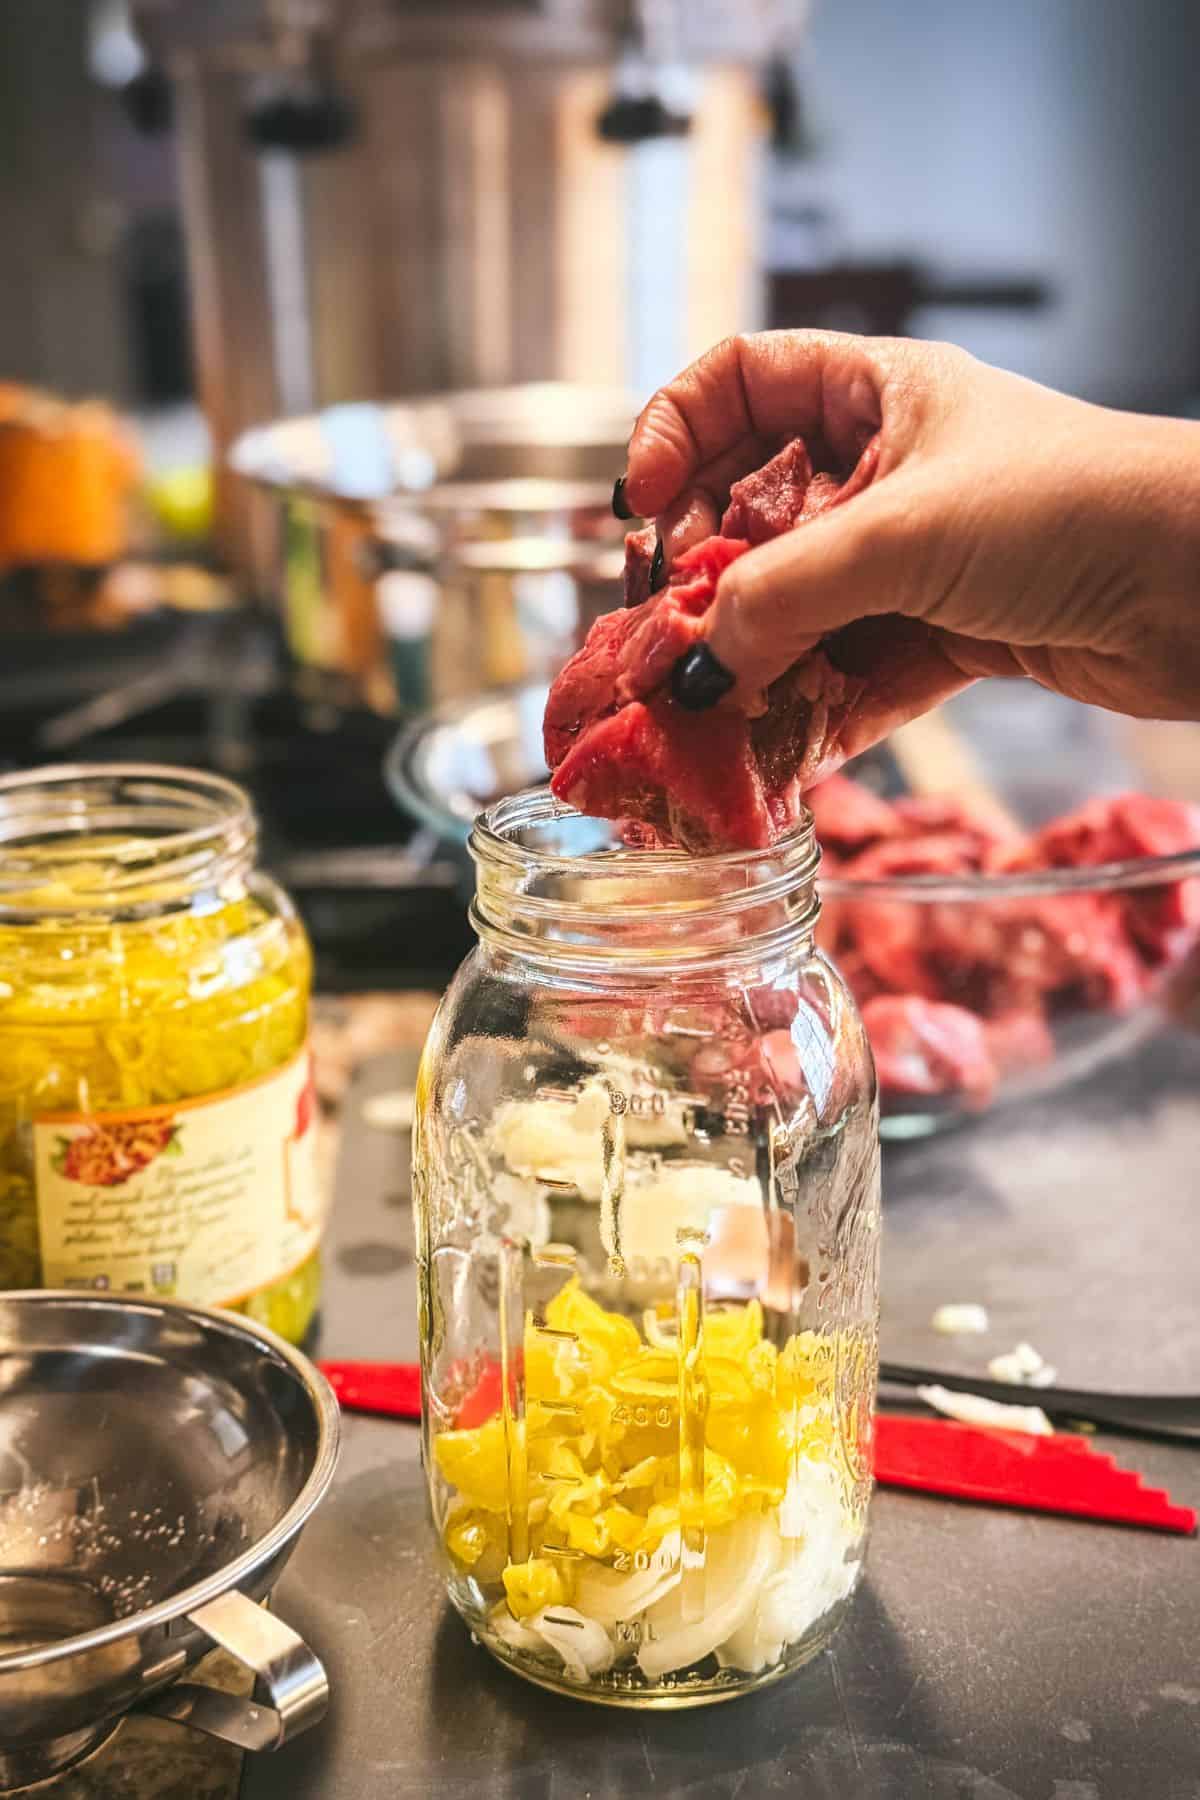
In the jars:
- Stew meat (I used beef... venison, pork, or chicken all work; the process is the same)
- Onion
- Sliced pepperoncini peppers (whole works too)
- Minced garlic
For the liquid:
- 8 cups water
- 2 tablespoons + 1 teaspoon ranch seasoning
- 1 packet au jus gravy mix
- 2 tablespoons red wine vinegar
- 2 tablespoons pepperoncini liquid
Yes, I used packets. No, I don’t feel bad about it. You can absolutely use homemade if that's your jam, no judgement.
Jar Assembly (Raw Pack)
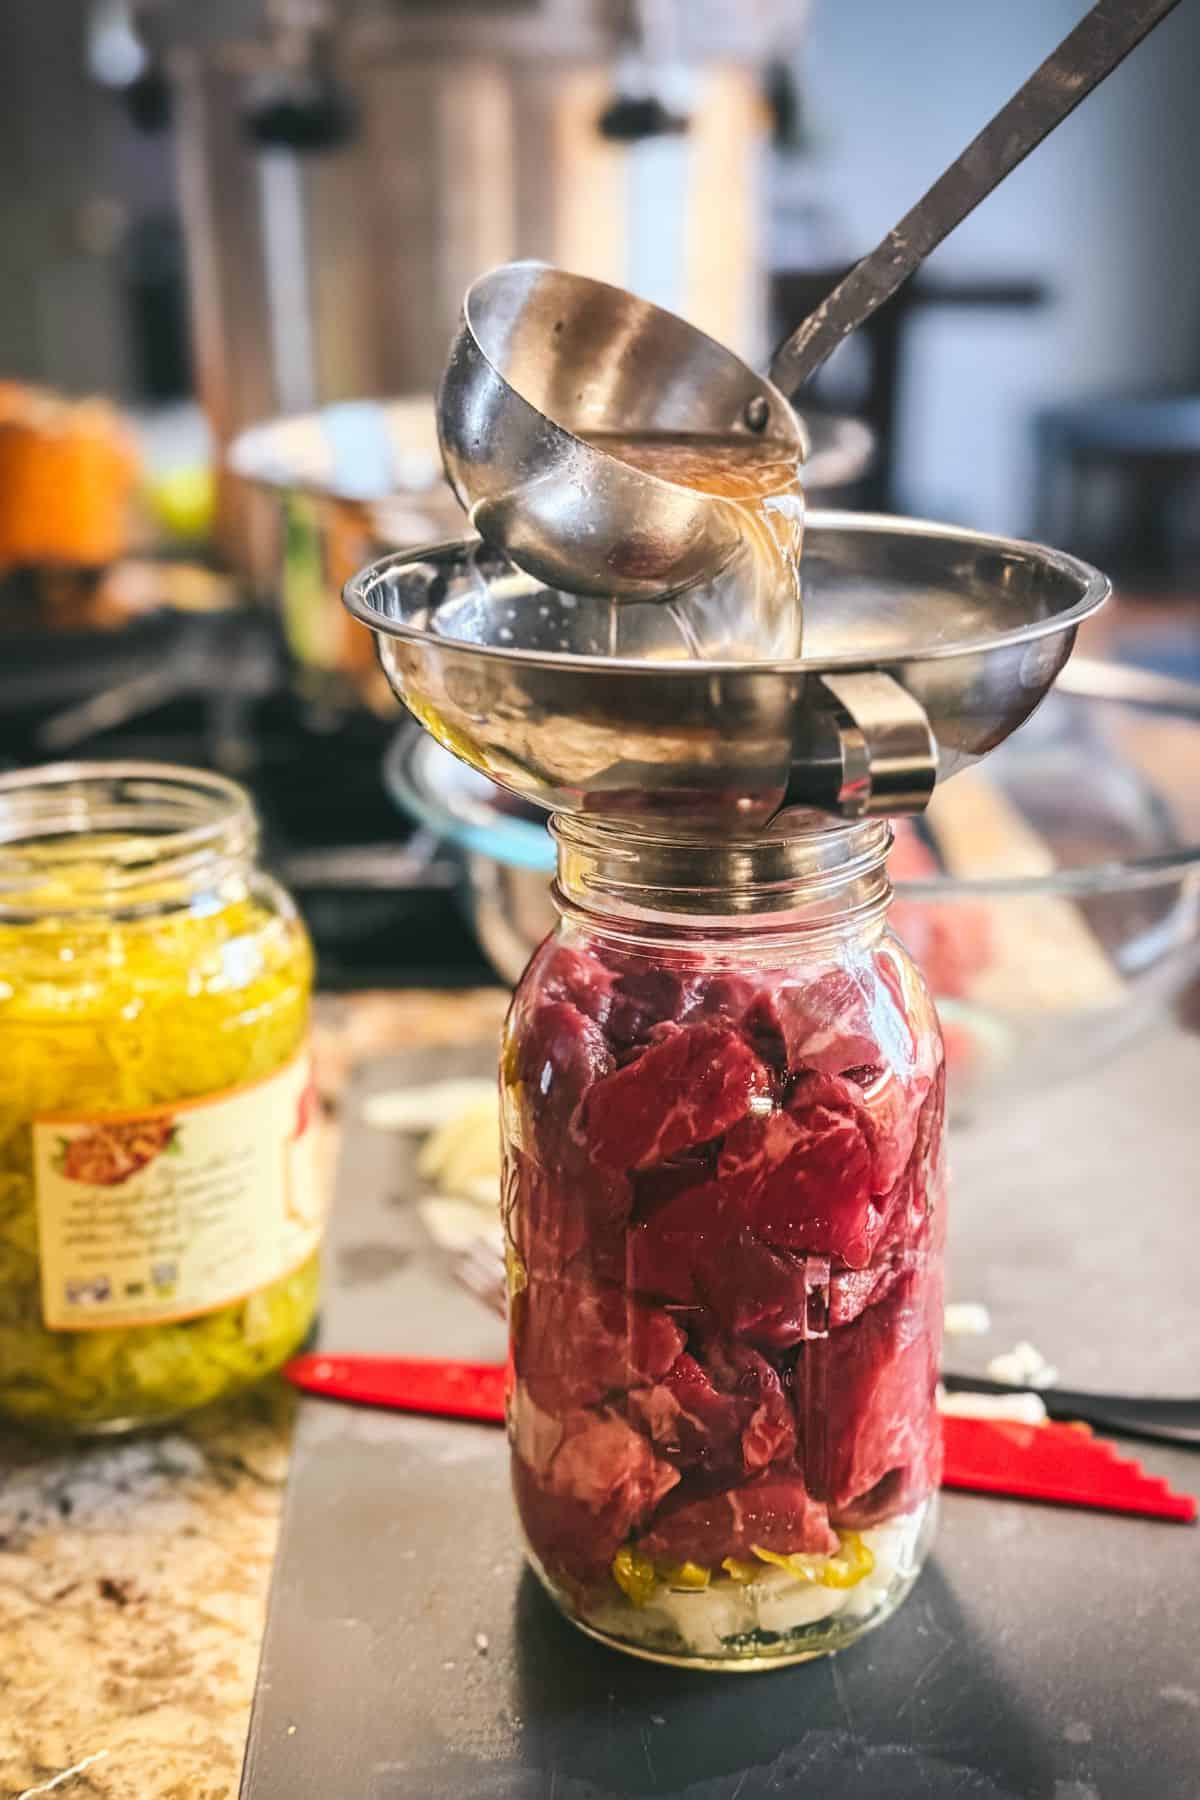
This is how I built each jar:
- In the bottom of the jar, I added:
- Minced garlic
- About ½ a sliced onion
- ¼ cup sliced pepperoncini peppers
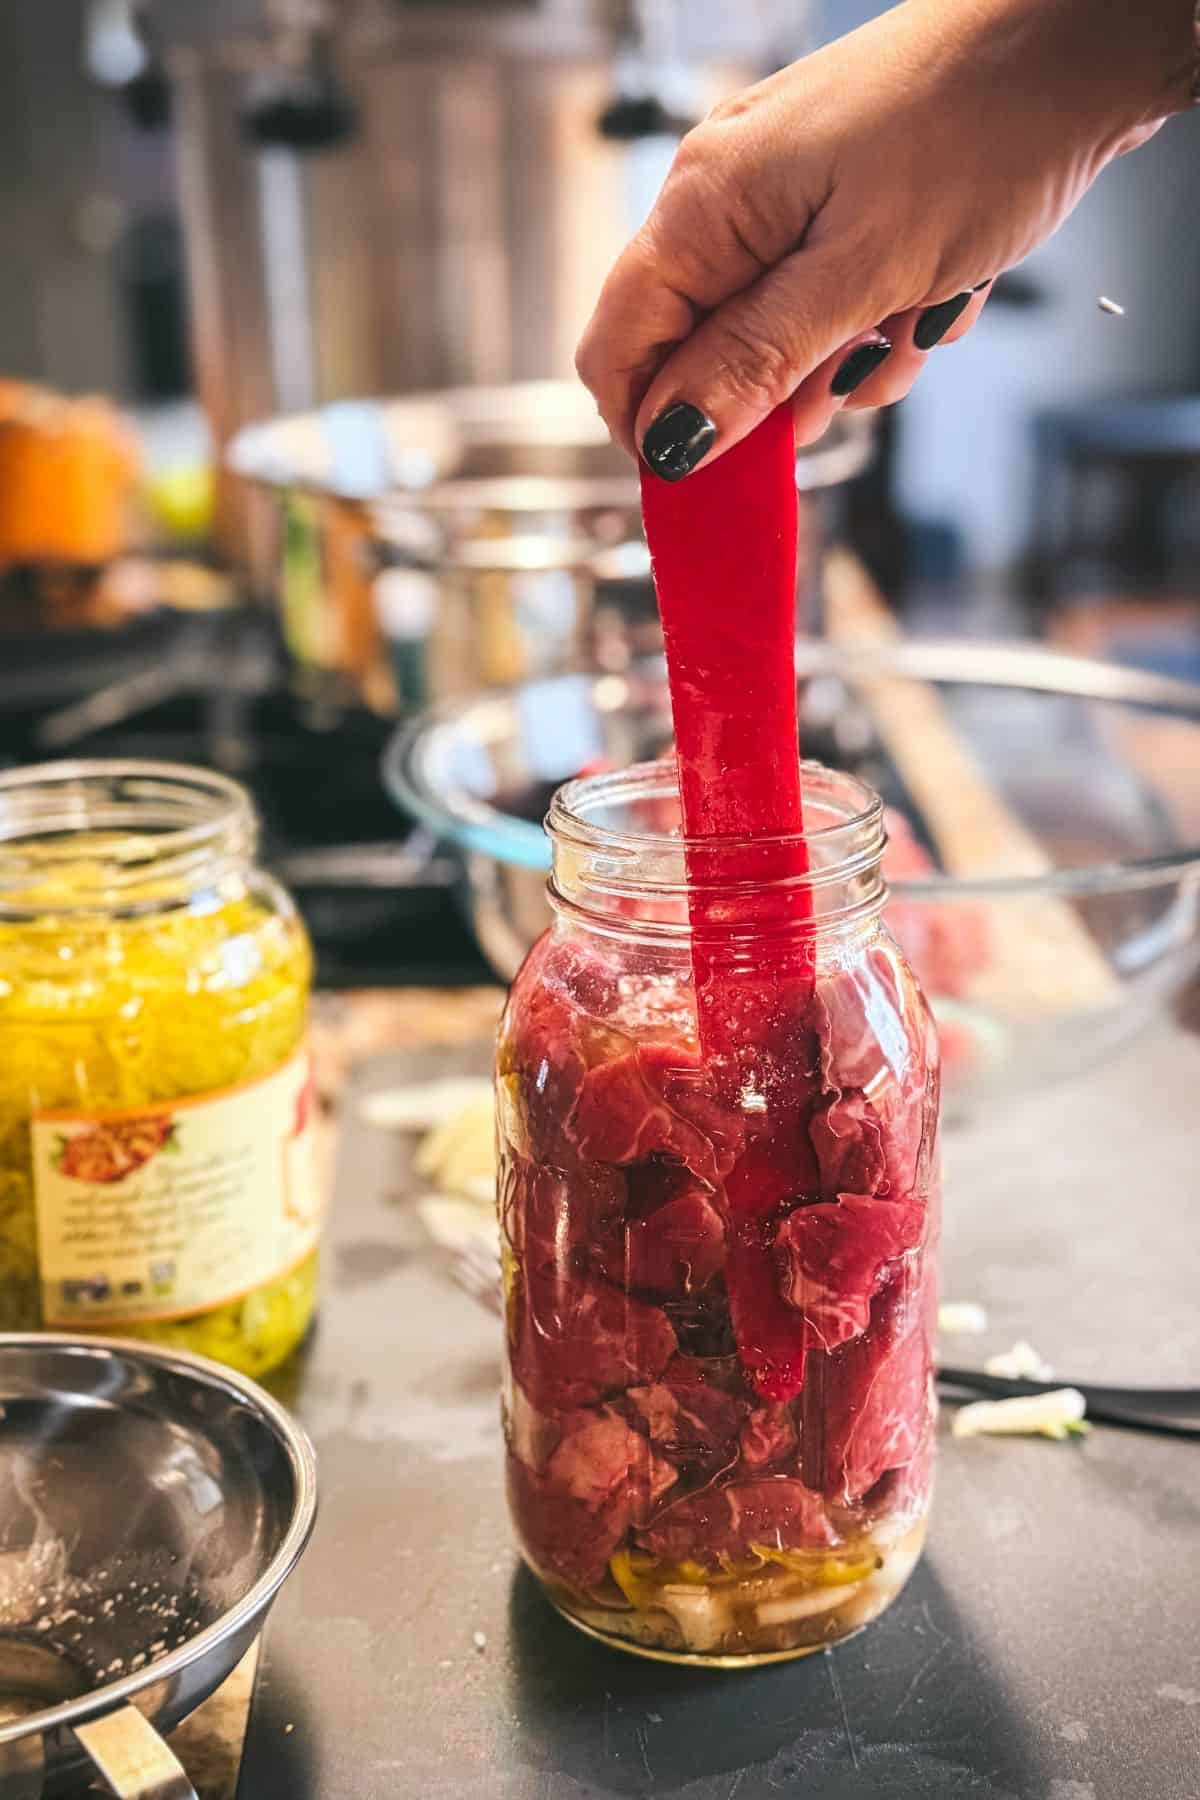
- I filled the jar the rest of the way with stew meat, leaving 1 inch headspace.
- I mixed the liquid ingredients together, poured it over the meat, and:
- De-bubbled aggressively (because trapped air is not your friend)
- Topped off with liquid as needed to maintain 1 inch headspace
That’s it. No browning. No drama.
Pressure Canning
- Quarts: 90 minutes
- Pints: 75 minutes
- Pressure: 10 lbs (for my altitude)
Adjust for your altitude like a responsible adult.
Let the canner cool naturally. No forcing it. No shortcuts.
A Few Important Notes (Read These)
- This is pressure canning only. Meat doesn’t get water-bathed. Ever.
- I did not add butter or oil. You can add that when you pop open the jar and heat it up.
- You don’t have to add onions, peppers, or garlic, but they’re all approved additions and they make it taste like actual Mississippi pot roast instead of sadness.
- You can raw pack beef without added liquid, but in this case the seasoned liquid is doing the heavy lifting flavor-wise, so it’s worth it.
- Make sure you debubble really well, it can be difficult depending on how tightly the jar is packed, but it's essential.
How To Use Canned Mississippi Pot Roast
Open jar. Pour out contents. Heat until nice and steamy. Serve over mashed potatoes, rice, or egg noodles.
It’s rich, tangy, and stupidly comforting... the kind of food that makes you feel like you planned better than you actually did.
Final Thought
This isn’t about perfection. It’s about feeding your people with what you have, in a way that makes sense for real life.
If you want to brown meat and slow cook all day, great. If you want shelf-stable meals that save your sanity later, this works fantastically well.
📖 Recipe
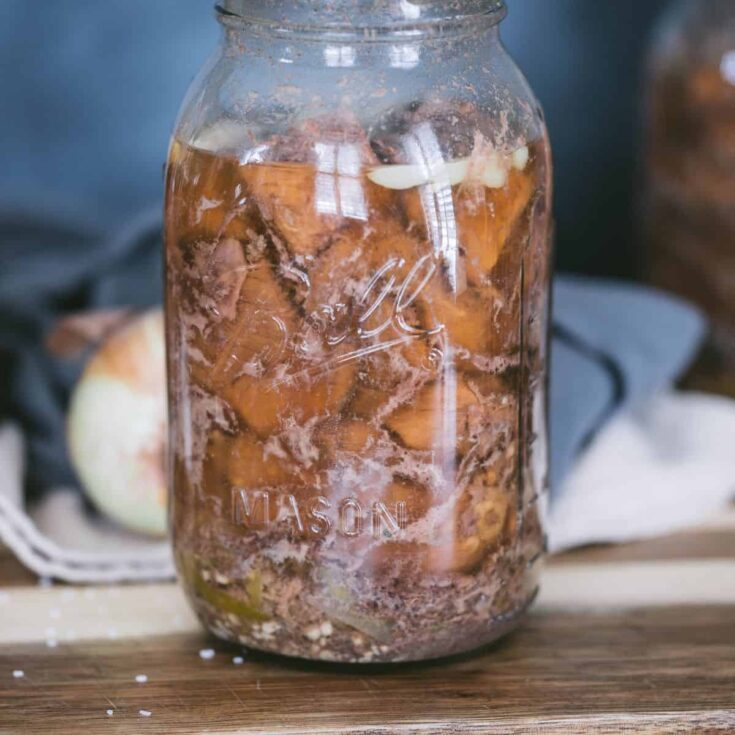
Canning Mississippi Pot Roast
A tangy, savory comfort-food favorite made shelf-stable for real life.This pressure-canned Mississippi pot roast gives you a ready-to-heat meal without the crockpot babysitting or day-of effort.
Ingredients
For the Jars
- 9 lbs stew meat (beef, venison, pork, or chicken)
- 3 Large Onions, sliced
- 5 teaspoon Garlic, minced
- 1 ¼ Cups Sliced Pepperocini Peppers
For the Liquid
- 8 Cups Water
- 2 tablespoon + 1 teaspoon Ranch Seasoning
- 1 Packet Au Jus Gravy Mix
- 2 tablespoon Red Wine Vinegar
- 2 tablespoon Pepperocini Liquid
Instructions
- Build the Flavor Base. In a large pot, whisk together the water, ranch seasoning, au jus mix, red wine vinegar, and pepperoncini liquid. Heat just until dissolved, set aside.
- Prepare the Jars. In the bottom of each clean, hot quart jar, add:
•1 teaspoon minced garlic
•About ½ a sliced onion
• ¼ cup sliced pepperoncini peppers - Raw Pack the Meat. Fill the remainder of each jar with stew meat, leaving 1 inch headspace.
- Add Liquid & De-Bubble. Pour the seasoned liquid over the meat. De-bubble thoroughly, then top off with additional liquid as needed to maintain 1 inch headspace.
- Wipe, Lid, and Load. Wipe rims clean, apply lids and rings fingertip-tight, and place jars in the pressure canner.
- Pressure Can Process at 10lbs pressure, adjusting for altitude:
•Quarts: 90 minutes
•Pints: 75 minutes - Cool Naturally. Allow the canner to cool completely on its own. Do not force cool. Remove jars and let them sit undisturbed for 12 to 24 hours.
Notes
Pressure Canning Altitude Adjustments for dial-gauge
Pressure Canning Altitude Adjustments for weighted-gauge
Open jar. Heat thoroughly. Serve over mashed potatoes, rice, or egg noodles
Nutrition Information:
Yield:
14Serving Size:
1 ½ CuAmount Per Serving: Calories: 575Total Fat: 20gSaturated Fat: 8gUnsaturated Fat: 12gCholesterol: 290mgSodium: 716mgCarbohydrates: 6gFiber: 1gSugar: 2gProtein: 96g
Nutrition information is an estimate, not a promise. I’m not a nutritionist — I’m just feeding my people and sharing what works. If you need exact numbers for medical or dietary reasons, please run it through your calculator of choice.


Leave a Reply