Are you ready to explore the world of herbal infused oils? This comprehensive guide will show you how to create your own nourishing herbal oils using four simple methods.
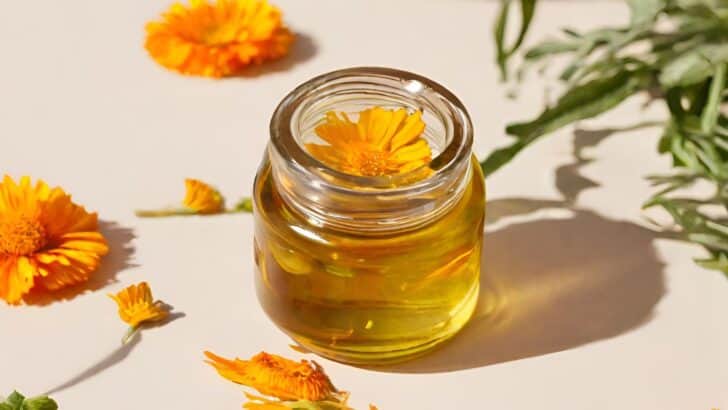
Greetings, dear friends! Today, I’m thrilled to share something close to my heart: the wonderful world of herbal infused oils. While essential oils have their own unique magic, there’s something incredibly fulfilling about working with herbs that you’ve grown or foraged yourself. Not only can you create nourishing salves, balms, serums, and more, but you can also deepen your connection with nature through this beautiful practice. So, let’s embark on this journey together, exploring the art of making herbal infused oils. Whether you’re a seasoned herbalist or just beginning, I hope these methods will inspire you to bring a touch of homemade wellness into your life.
Why Herbal Infused Oils?
Before we dive into the methods, let’s chat about why herbal infused oils are so special. Unlike essential oils, which require specialized equipment and processes, herbal infused oils are wonderfully accessible. You can grow or forage your herbs, dry them, and infuse them into oils that can be used in a myriad of ways. The flexibility and creativity that come with making your own herbal oils are truly empowering.
I have to confess—I’m one of those people who often jumps in headfirst when I get a new idea. While this enthusiasm is great, it can also lead to a bit of frustration if things don’t go as planned. However, when it comes to herbs, I’ve learned to slow down and savor the process. This journey has taught me so much, and today, I want to share with you four simple methods to make your own herbal infused oils.
Preparing Your Herbs
Before we begin, a quick note on herbs: always use dried herbs for these infusions. Fresh herbs contain too much moisture, which can lead to mold growth. Dry your herbs for at least 12 hours before using them to ensure a successful infusion.
Method 1: Solar Infusion
This is the most traditional and gentle method of infusion, harnessing the power of the sun. It’s a bit slower but well worth the wait.
- Gather Your Supplies: You’ll need a clean, dry jar with a tight-fitting lid (like a canning jar), dried herbs, and a carrier oil. Extra virgin olive oil is a fantastic choice due to its long shelf life and versatility.
- Combine Ingredients: Place your dried herbs in the jar, then cover them with the carrier oil, leaving about an inch of oil above the herbs. Make sure there’s at least half an inch of headspace in the jar.
- Mix and Seal: Stir the mixture thoroughly. If the herbs absorb all the oil, add more until the herbs are fully submerged. Seal the jar with the lid.
- Infuse in the Sun: Place the jar in a sunny windowsill and shake it gently a couple of times a day. The sun’s warmth will help extract the beneficial properties from the herbs.
- Wait Patiently: Let the jar sit in the sun for at least two weeks, or up to six weeks for a stronger infusion.
- Strain and Store: After the infusion period, strain the oil through cheesecloth to remove the herbs. Pour the oil into a clean glass jar, add a half teaspoon of vitamin E oil per pint (for preservation), and label it. Store the oil in a cool, dark place.
Tip: For a lovely touch, consider adding a few drops of essential oils to your infused oil for added fragrance and benefits.
Method 2: Crockpot Infusion
If patience isn’t your strong suit, this method is perfect for you. It’s quicker and yields great results in just a day.
- Prepare Your Jar: Place your dried herbs in a jar with a tight-fitting lid and cover them with carrier oil, leaving about an inch of oil above the herbs.
- Set Up the Crockpot: Fill the crockpot with water until the jars are about three-quarters submerged. Turn the crockpot on low.
- Infuse the Oil: Let the jars infuse in the crockpot for 10-12 hours. This gentle heat speeds up the infusion process.
- Strain and Store: Carefully remove the jars from the crockpot (they will be hot!). Strain the oil through cheesecloth, pour it into a glass jar, add a half teaspoon of vitamin E oil per pint, and label. Store in a cool, dark place.
Tip: If you have a large batch of herbs, you can infuse them in multiple jars to make the most of your crockpot space.
Method 3: Oven Infusion
For those who want their infused oils quickly but don’t have a crockpot, the oven method is a wonderful alternative.
- Prepare the Dish: Place your dried herbs in an oven-safe dish (like a glass Pyrex dish) and cover them with carrier oil.
- Set the Oven: Preheat your oven to the lowest temperature it will go (around 170°F or 200°F).
- Infuse: Place the covered dish in the oven and let it infuse for 3 hours. The gentle heat will help extract the herbs’ properties.
- Strain and Store: Remove the dish from the oven, and while the oil is still warm, strain it through cheesecloth. Pour the oil into a glass jar, add a half teaspoon of vitamin E oil per pint, and label. Store in a cool, dark place.
Tip: Make sure to keep an eye on your oven temperature. If it gets too hot, it could degrade the quality of your oil.
Method 4: Stove Top Infusion
The stove top method is the fastest of all, though it may require a second round for a stronger infusion.
- Set Up the Double Boiler: Fill the bottom part of the double boiler with water and place your dried herbs in the top part. Cover the herbs with carrier oil.
- Simmer: Gently simmer the herbs on the stove for 2 hours. Be sure to keep the heat low to avoid overheating the oil.
- Strain and Store: Remove the top part of the double boiler and strain the oil through cheesecloth while still warm. Pour the oil into a glass jar, add a half teaspoon of vitamin E oil per pint, and label. Store in a cool, dark place.
Tip: If the infusion isn’t as strong as you’d like, you can repeat the process with a fresh batch of dried herbs in the same oil.
Final Thoughts
There you have it—four fantastic methods for making herbal infused oils! Each method offers a unique way to extract the goodness from your herbs, allowing you to create personalized and effective products for your home. Remember, the vitamin E oil is optional but helps extend the shelf life of your infused oils.
I hope this guide encourages you to try your hand at herbal infusions. Embrace the process, savor the learning, and enjoy the blessings of nature’s gifts. Stay tuned for more ways to use your herbal oils and other homestead tips. Until then, may your days be filled with grace and simplicity.
I hope these methods inspire you to create your own herbal infused oils and embrace the natural benefits they offer. For more tips and updates on herbal remedies, gardening, and simple living, be sure to follow me on Facebook at The Rustic Elk and on Instagram @TheRusticElk. Let’s continue to support and uplift each other on this journey towards a more holistic and grace-filled life!
📖 Recipe
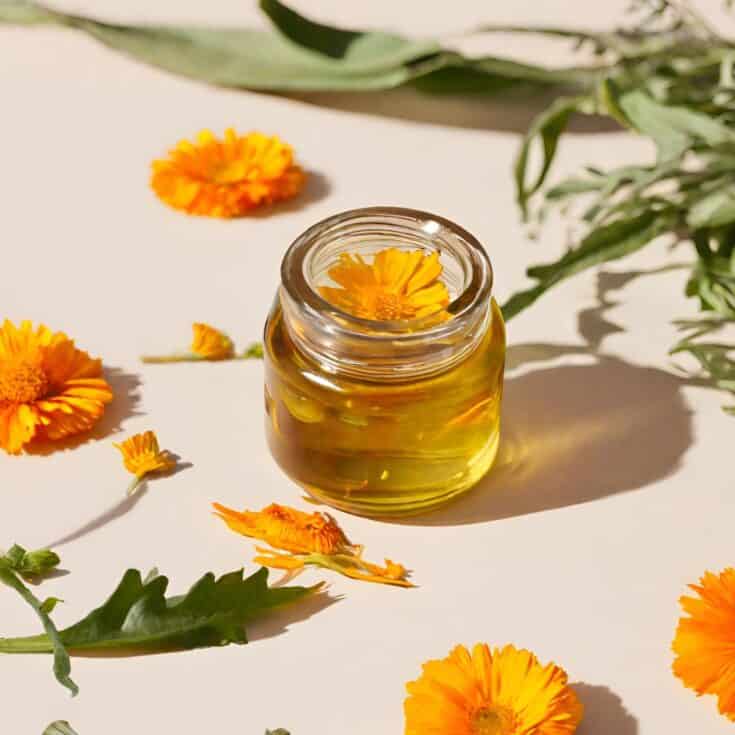
How to Make Herbal Infused Oils
Learn how to create your own herbal infused oils with this simple guide. Choose from four easy methods to extract the natural goodness from herbs and make versatile, nourishing oils for all your needs.
Materials
- Dried herbs (fresh herbs need to be dried first)
- Carrier oil (extra virgin olive oil recommended)
- Glass jars with tight-fitting lids
- Cheesecloth for straining
- Vitamin E oil (optional, for preservation)
Instructions
Choose Your Method:
- Solar Infusion:
- Place dried herbs in a jar.
- Cover with carrier oil, leaving 1 inch of oil above herbs.
- Seal jar and place in a sunny windowsill.
- Shake daily for 2-6 weeks.
- Strain through cheesecloth and store in a cool, dark place.
- Crockpot Infusion:
- Place herbs in a jar and cover with oil.
- Fill crockpot with water to ¾ height of jars.
- Set crockpot on low and infuse for 10-12 hours.
- Strain and store as above.
- Oven Infusion:
- Place herbs in an oven-safe dish and cover with oil.
- Preheat oven to the lowest temperature (170°F or 200°F).
- Infuse for 3 hours.
- Strain and store as above.
- Stove Top Infusion:
- Use a double boiler to gently simmer herbs in oil for 2 hours.
- Strain and store as above.
Add Vitamin E Oil (Optional):
- Add ½ teaspoon of vitamin E oil per pint of infused oil to help preserve it.
Store Your Infused Oils:
- Label jars and store in a cool, dark place. Your oils should keep for at least a year.


Lynne Bier says
Soooo, is there a specific amount of herbs you put in the jar? Like lightly packed in, or firmly packed?
Danielle McCoy says
No specific amount. The more you put in, the stronger the infusion will be. I usually just lightly pack them in.
Cindy says
Can you use freshly picked comfrey or does it have to be dried?
Danielle McCoy says
The excess water content can actually cause your oil to go rancid. It's best to use dried and if you want to use fresh comfrey you should wilt them for about 12 hours, snip them into small pieces and grind them with a mortar and pestle before using them.
Trudy says
Where is the infusion for Garlic to repel snakes.
I didn't see it, and I do not know how to make this one.
Thank you
Danielle McCoy says
So, you'll use the instructions in this post to infuse some oil with garlic. You'll simply use one of these methods and place several cloves of garlic (peeled, even minced can help release the scent/oils from the garlic) and infuse the oil. Then, you'll make the spray listed in this post https://www.therusticelk.com/naturally-repel-snakes/
Baral Sendu says
Hi
I'm making some garlic spray but is it ok if I use palm oil instead of olive oil for infusing?
Thanx.
Danielle McCoy says
Yes, palm oil will work fine.
Kathy says
Can you use dried citrus?
Danielle McCoy says
Yes
Ann b says
Could I use fresh citrus I’m making some orange and lemon cleaning solution now but I want to try your lotion making with some infused oils
Danielle McCoy says
The peels, yes.
Randi says
What if vitamin E is not available?
Danielle McCoy says
You can omit it.